Operation Downfall, Frame 1 Pictorial
Operation Downfall was a scenario that ran
in July, 2006 in the multiplayer on-line air-combat simulation Aces
High.
Mission 1
Hiryu Sentai, in it's Ki-67 Hiryu bombers, takes off from a18 on a scouting
mission. Hiryu Sentai consists of: Toadflak (GL), AceJoeI, BadHorse, Becinhu,
Brooke (me), Col999, Cw1, Easycor, Evilm3, Heeler, Kermit, MartyB, MGD, Mussie,
Rolex, Soupcan, and Taxi. Mussie and MartyB took off from a12 in Ar 234's for
scouting. We are flying 3-plane formations of bombers, such that we each fly
one bomber and two drones follow each of us around. (t=00:00:00)
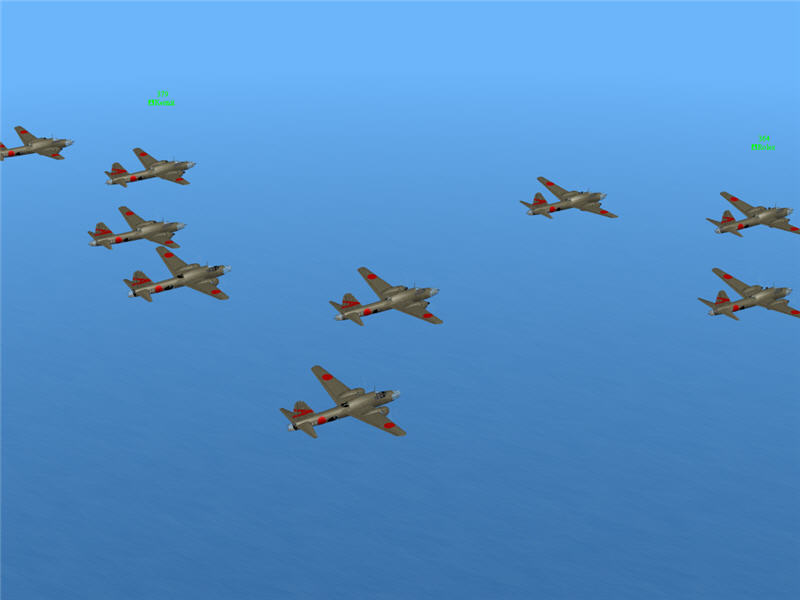
I join up with Kermit's formation (upper left in picture) and Rolex's formation
(right in picture) as we scout the sea northwest of Japan for enemy carriers.
While we were scouting, reports came in of enemy carriers southeast of Japan.
We didn't spot any carriers, so we returned to base for missions to the southeast.
Mission 2
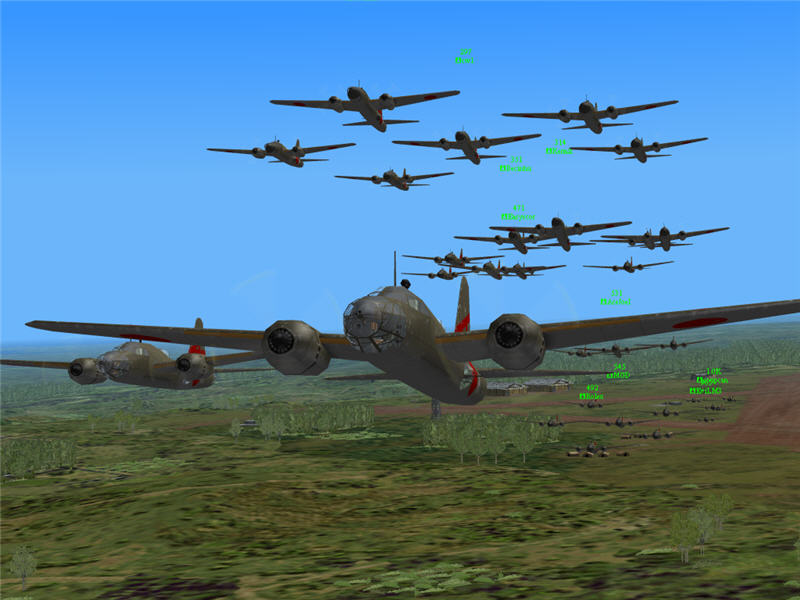
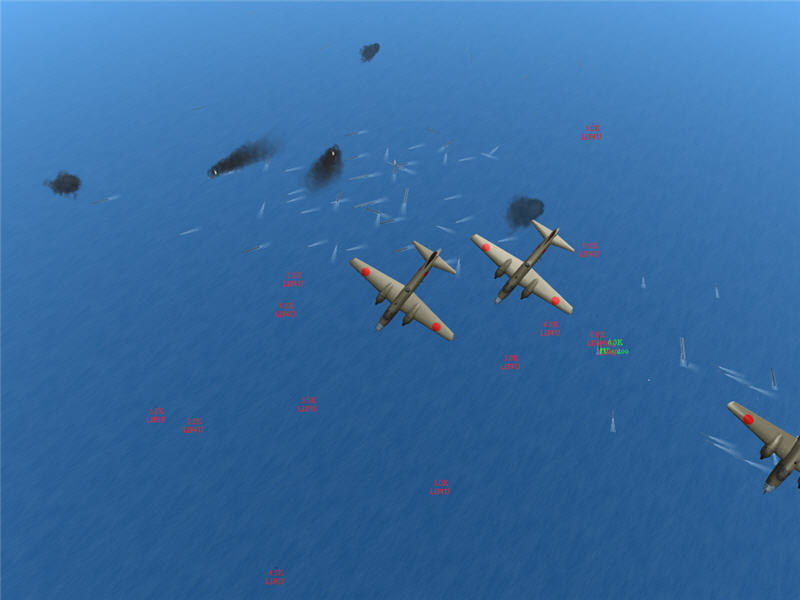
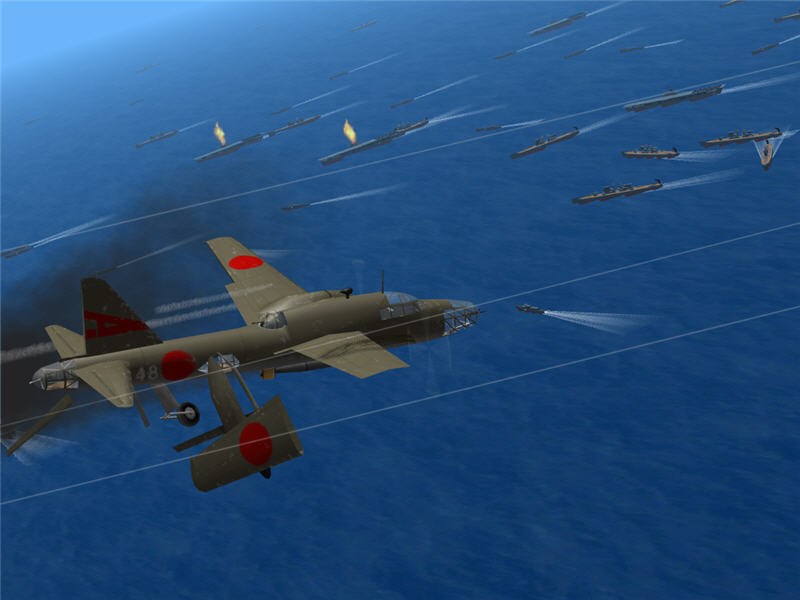
On the second mission, I (middle of picture) and five others (MartyB, upper
middle, Mussie, upper right, Soupcan, lower middle, Cw1, not shown, and AceJoeI,
now shown) took off out of a31 to go southeast, then south to hit the enemy
carriers reported in the 6,2,8 area. Cw1, AceJoeI, and I took torpedos. Cw1
and AceJoeI developed mechanical problems and had to return to base (i.e., were
dumped). The rest of the guys took bombs. We climbed to 20k altitude heading
SE, levelled out, then turned south. As we travelled south, we got reports of
enemy CV's (carriers) in the 5,4,3 area. As that was the most recent report,
we headed for that location. In the picture above, you can see the torpedo carried
beneath my Ki-67.
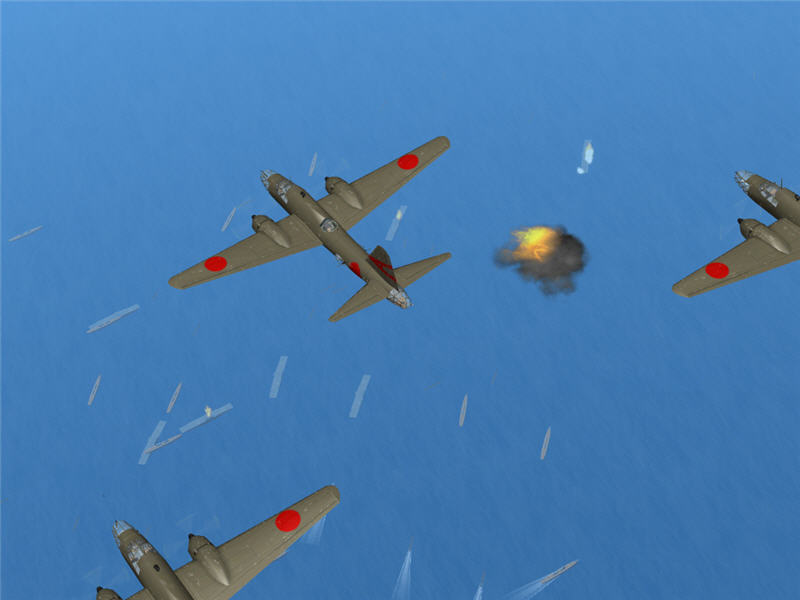
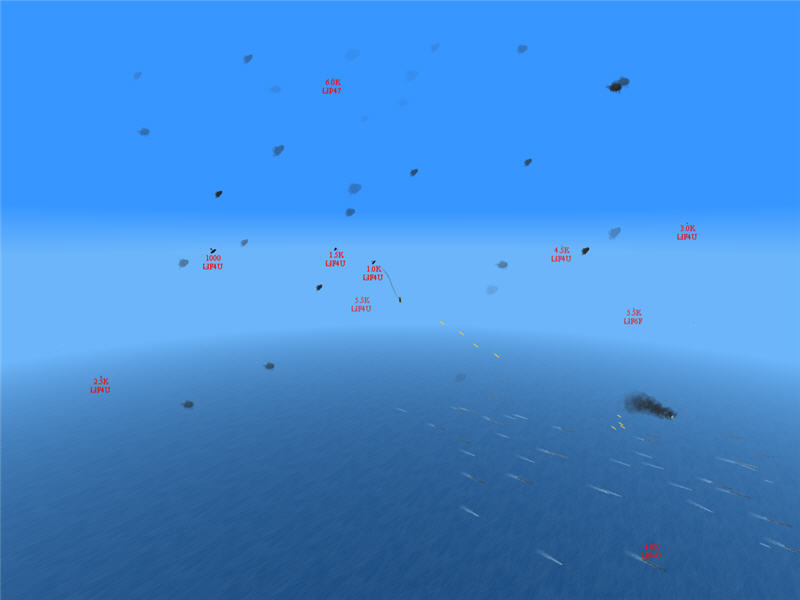
I spot the CV's. There are a lot of them (and a lot of escort ships). One CV
is hit and sinking (upper right of the picture). There is AAA (flak) bursting
around us (orange flash near my bomber formation). A couple more CV's are on
fire. I call out numbers of CV groups, location, and heading. Mongial gives
me a "Got get 'em, Brooke!" on the radio. The airspace at 20,000 ft
over the enemy CV groups is clear of enemy fighters. The guys doing level bombing
will thus have a clear run. (t=2:06:21)
I start diving in to set up my torpedo run. Unfortunately for me, the lower
altitudes are teaming with enemy fighters. I will have to go through all of
it to make it to the CV's, as I have to drop my torpedos under 400 ft altitude
and at a speed less than 175 mph, or the torpedo will break apart on contact
with the water. There are F4U Corsairs, F6F Hellcats, and P-38 Lightnings down
there (and perhaps FM2 Wildcats). At this point, Soupcan has hit one of the
CV's with his bomb run and sank it. Way to go, Soupcan!
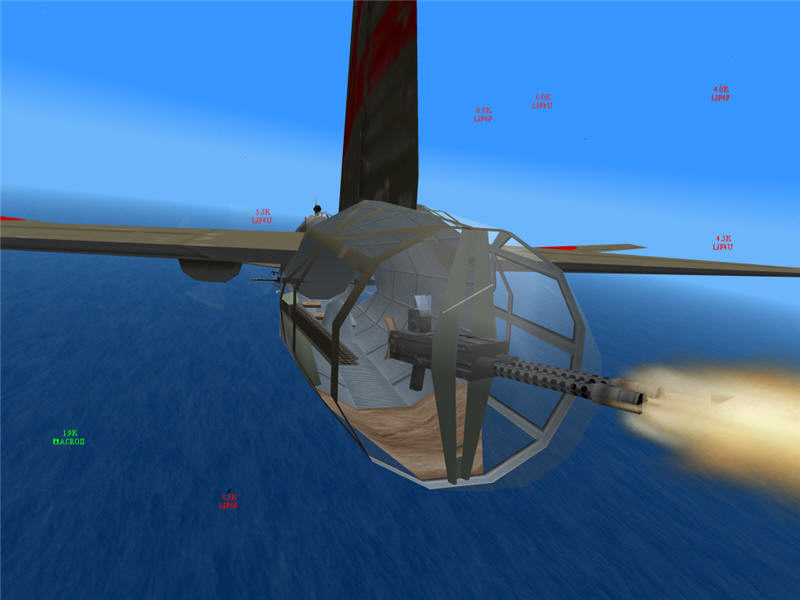
I blast away from the tail-gunner position at enemy fighters attacking me as
I try to get to the carriers. There are plenty of US fighters behind me, and
many more in front of me. It doesn't look good for me. (Looks bad for Zathrus.)
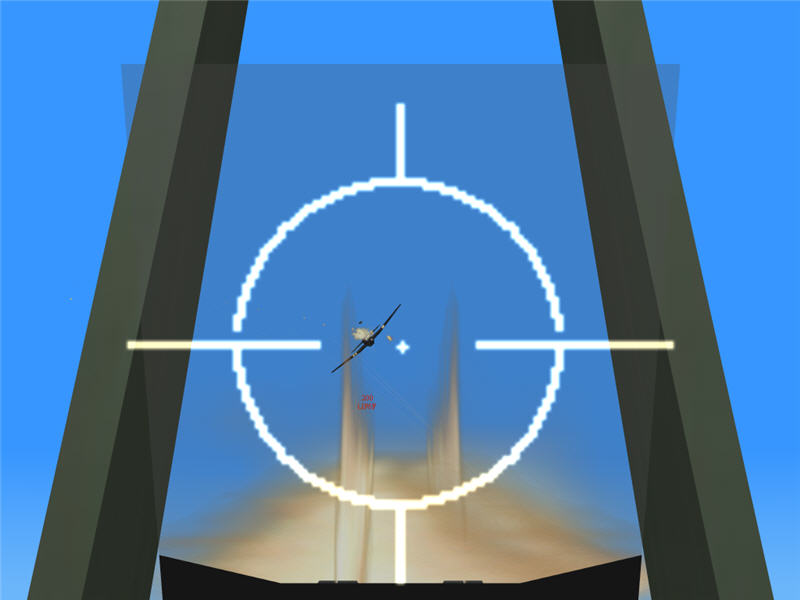
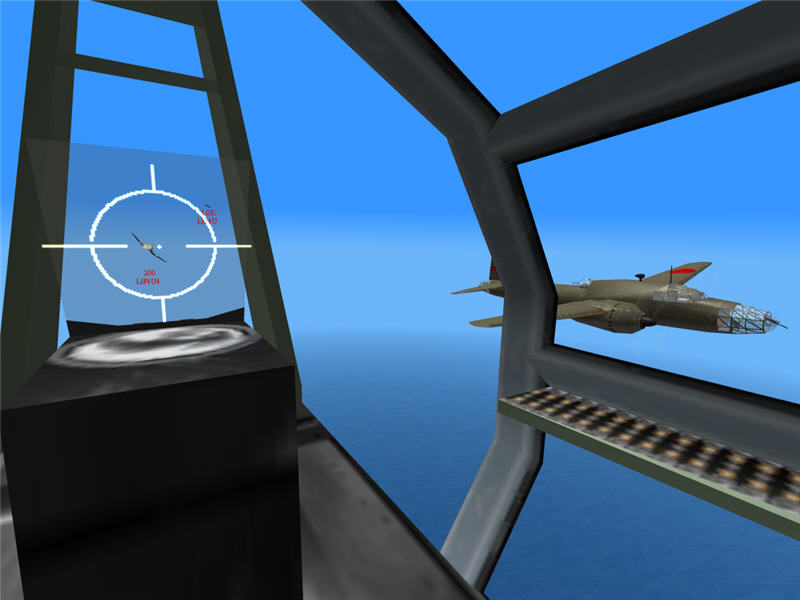
A view through my tail-gun sight as I score hits on an F6F that is attacking
me, its guns blazing. I'm scoring hits on the cockpit area, hoping to kill the
pilot.

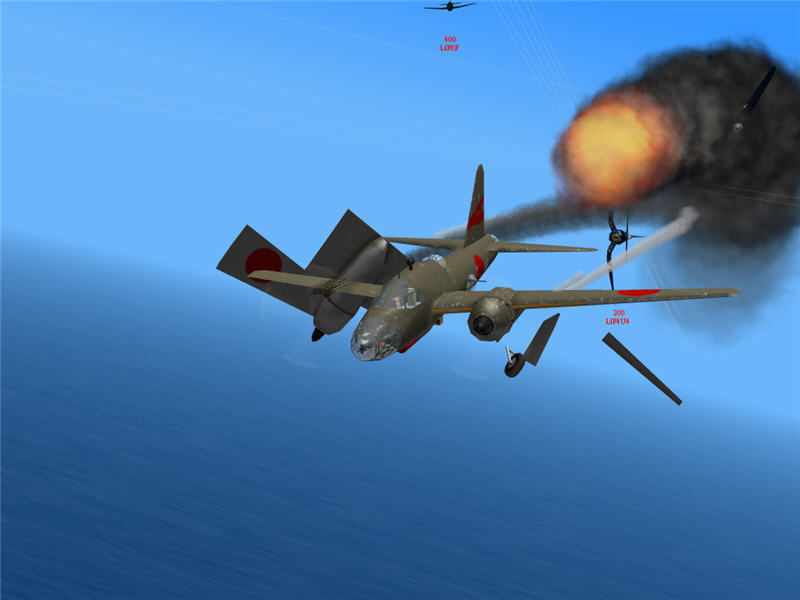
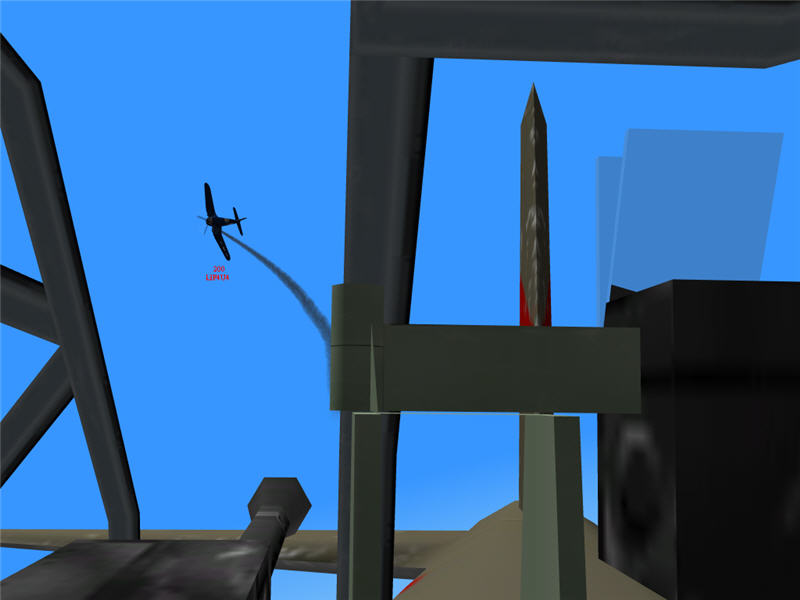
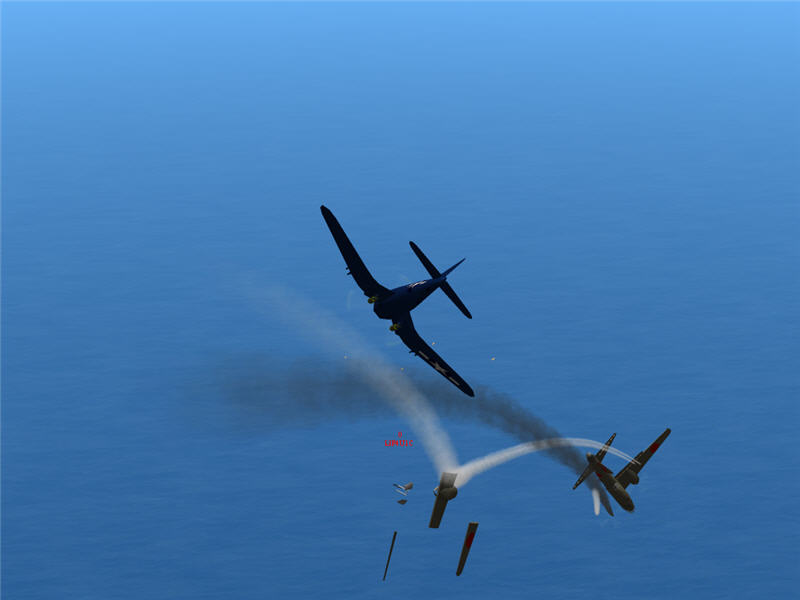
I'm scoring more hits on the F6F as it closes (this time on it's left wing root),
but it ravages my Ki-67, which is smoking and has parts falling off. I've lost
my rudder, left aileron (visible falling away from my plane in this picture),
and right flap, and I've got a right engine hit (oil leak) and a fuel-tank leak
on the right wing tank.
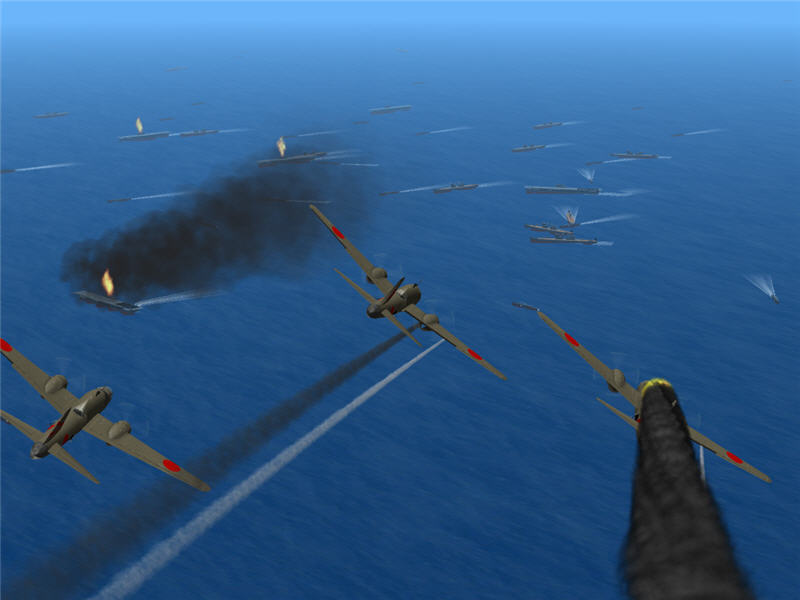
I'm trying to lose altitude and get toward the fleet to drop my torpedos. The
right plane in my formation has been hit, too, and is on fire.
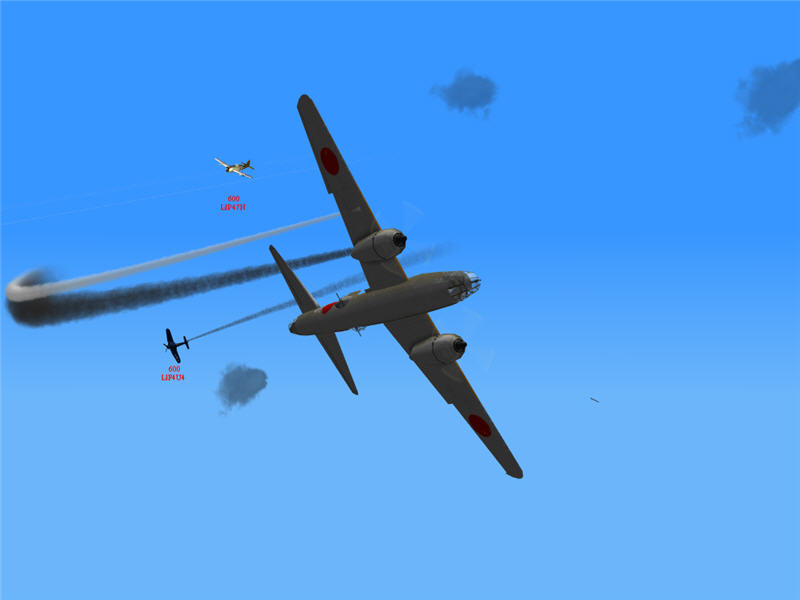
My last moments as I fail to get to my torpedo-release point. I'm down to my
last plane in my formation, and it's right wing has just been blown off. Behind
me is an F4U-4, another F4U or F6F in the smoke, and an F6F (upper portion of
picture).
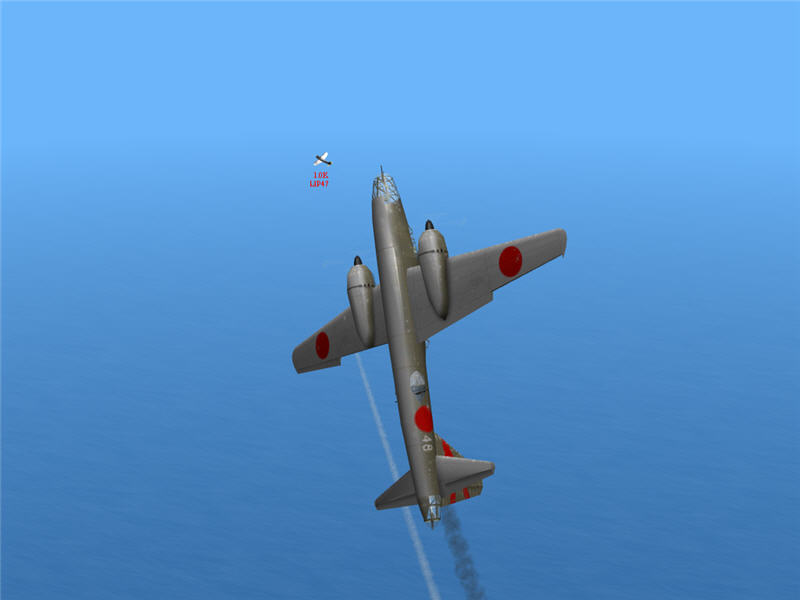
Another view of my last moments showing how close I was to the fleet. I didn't
manage to bail out before I crashed into the water.
Mission 3
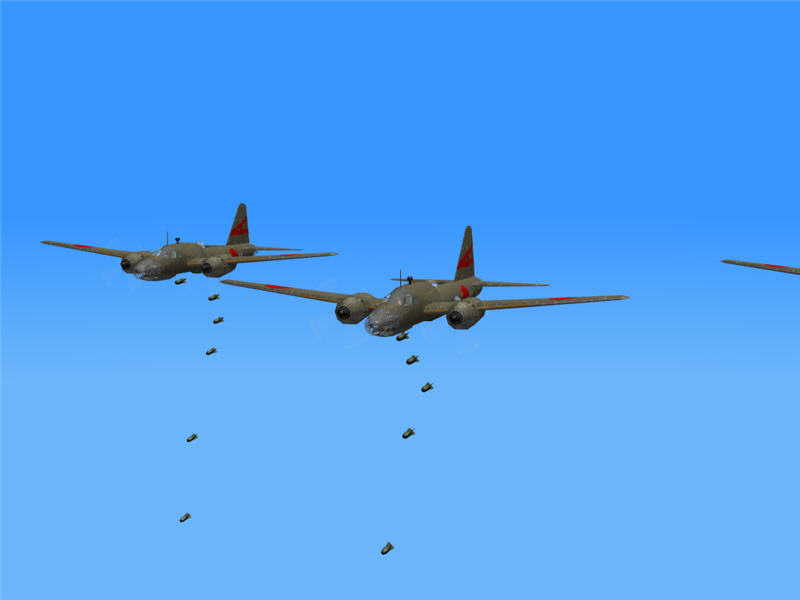
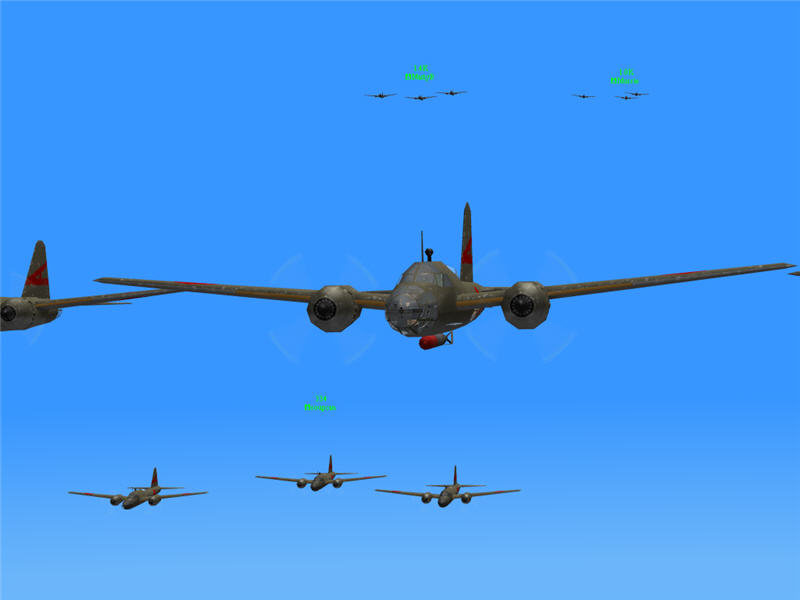
I took off again, this time from a8, and headed to the fleet with a load of
bombs (eight 100 kg bombs). Here I am releasing my bombs. I'm at 20,000 ft altitude.
(t=2:31:07)
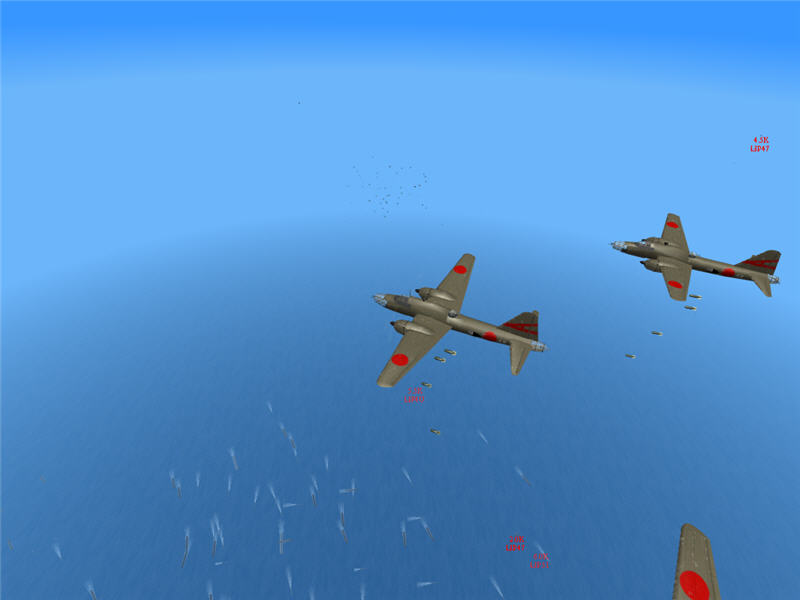
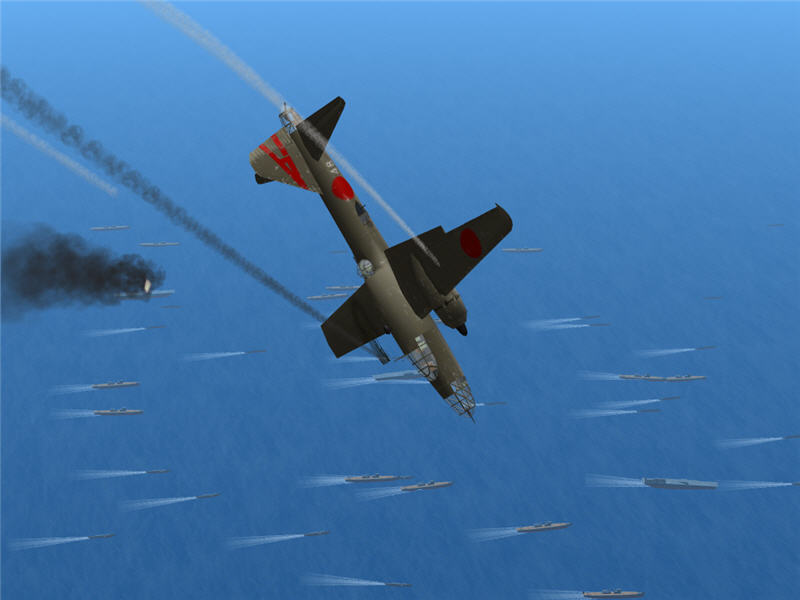
Another view of me dropping my bombs, showing the US fleet below. This time,
there are some US fighters up at 20k in the area, but they aren't numerous up
here. Unfortunately, the result of my bomb drop was that I missed the carrier
I was aiming for. After my drop, as there were some fighters at higher altitude,
I decided to descend over the fleet and feign another attack to draw fighters
down and away from others in Hiryu Sentai who were coming in on target.
US fighters do indeed attack me as I come in lower, feigning a second attack
on the fleet. Here, from my tail-gun position, I score some hits on an F4U-4.
This is a view from my dorsal-gun position, showing that my hits have taken
out the F4U-4's engine. His propellor is stopped. Yay!
I am attacked by more aircraft, including this P-47N in the upper left. I am
now missing a right flap, a left aileron, have taken a right-engine oil hit
and right wing-tank hit. There are some flak bursts from the nearby fleet.
The fighters have taken out my tail gun and my dorsal gun, so I go aerobatic.
I'm wishing I had a gunner or a forward gun for the pilot.
There are a lot of fighters around, and it looks bad for me. I'm the smoking
dot in the exact middle of the picture with all the enemy fighters and flak
bursts around. I'm trying to draw these fighters lower. I'm currently diving
through 10,000 ft.
My final moments as an F4U-1C puts in the final hits, blowing off my right wing,
sending me spiraling toward the ocean.
Me, going down near the enemy fleet. This time, I bailed out before hitting
the water.
Conclusion
Hiryu Sentai was quite successful in this frame. Several of its pilots sank
carriers (Soupcan, Rolex, and perhaps others), and MartyB sank two carriers.
Me, I wasn't so successful. I sank no carriers and died once -- but I hope my
missions 2 and 3 dragged enemy fighters lower and thereby helped a little.
by Brooke P. Anderson
e-mail: brooke@electraforge.com
Click here to go back to my scenario page, for
pictorials on other frames of this scenario, for pictorials of other scenarios,
and for links to other content on my site.