Operation Downfall, Frame 2 Pictorial
Operation Downfall was a scenario that ran
in July, 2006 in the multiplayer on-line air-combat simulation Aces
High.
Mission 1
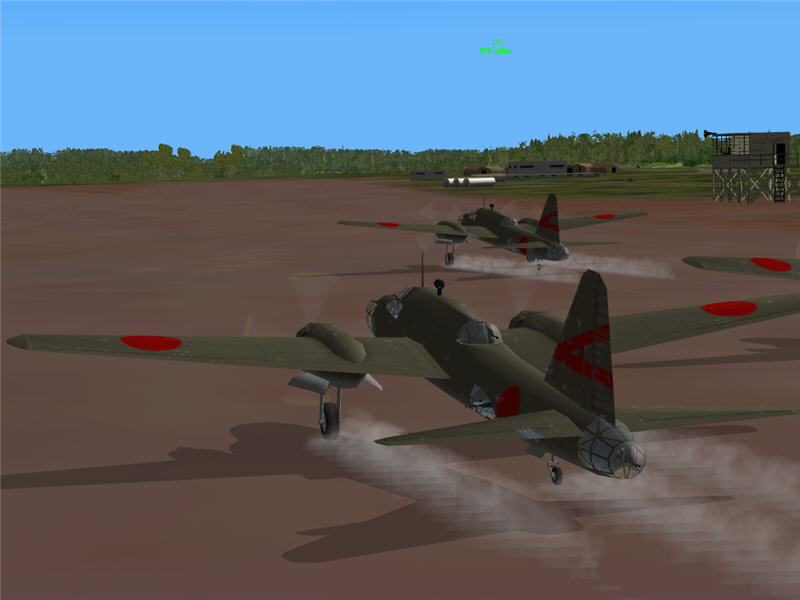
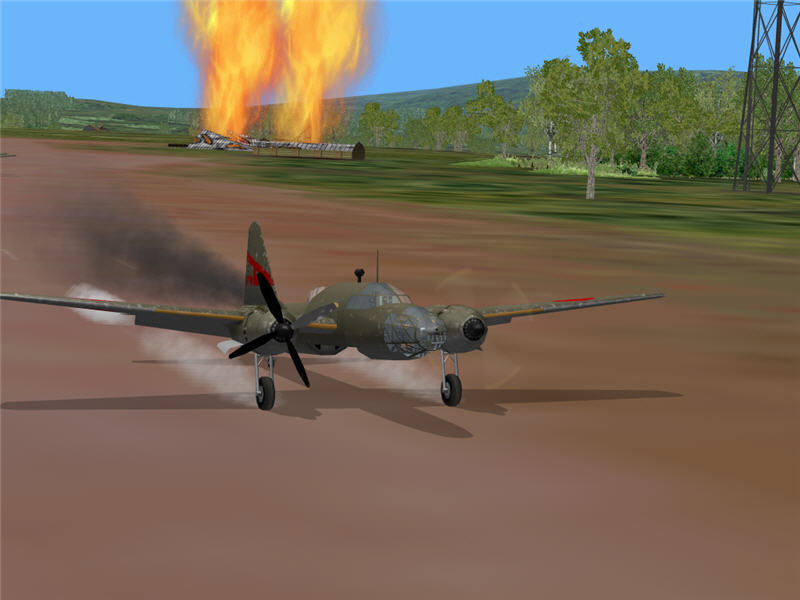
Me (Brooke) following Toadflak (Hiryu Sentai's Group Leader) on our takeoff
run at field a24. Hiryu Sentai is flying Ki-67 bombers and consists of: Toadflak
(GL), Becinhu, me (Brooke), Mussie, Mystic2, Taxi, Soupcan, and Easycor (co-GL
for this frame). We are flying 3-plane formations of bombers, such that we each
fly one bomber and two drones follow each of us around. Our first mission is
to split up and fly scout missions W and NW of Japan to search for any US Navy
fleets. (t=00:00:00)

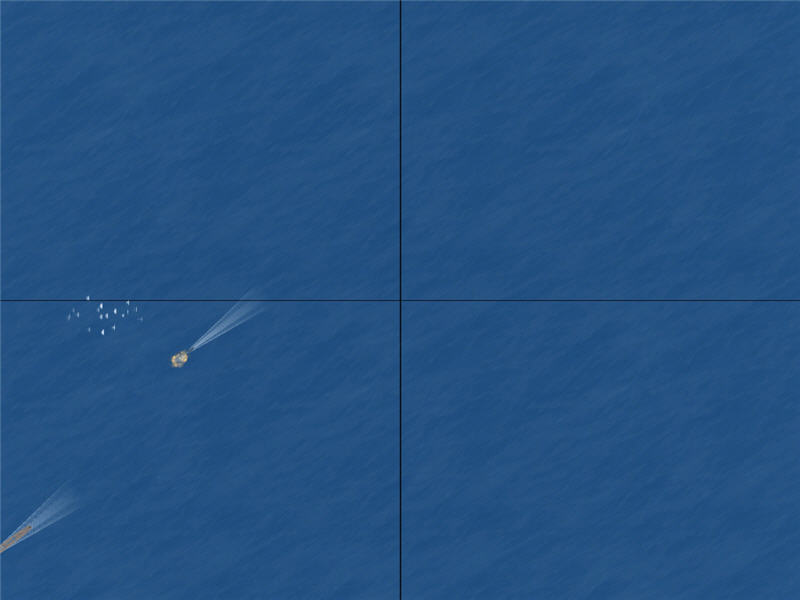
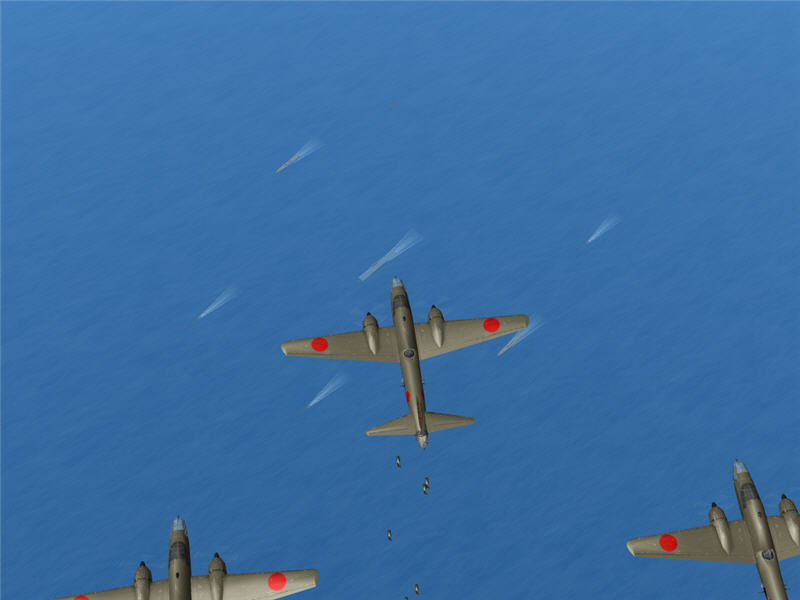
A view out my forward gunner position as I come across a US Navy fleet in sector
2,9, which Toadflak spotted first. There's a carrier (CV, upper left big ship),
four cruisers (one above CV in picture, and three others around midline of picture),
and numerous destroyers. (t=0:20:19)
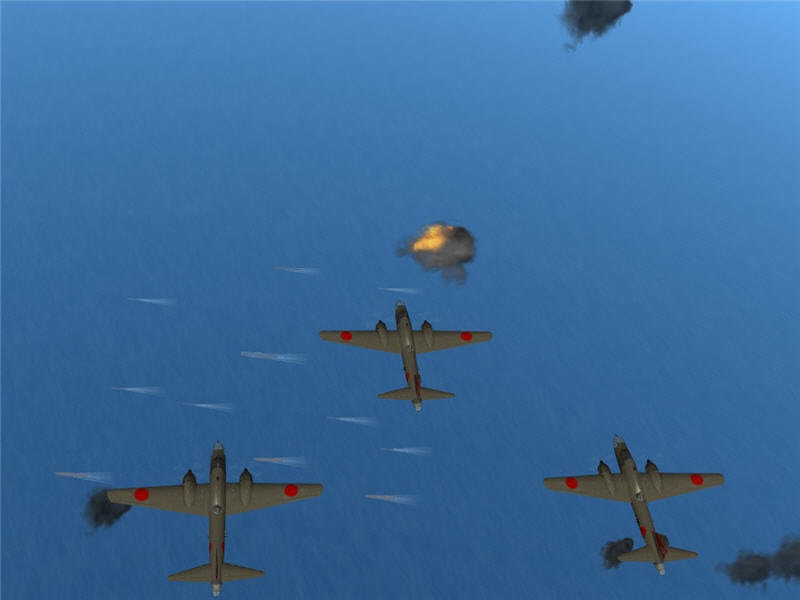
Some AAA shooting at me as I go over the fleet. In at 20,000 ft. My orders are
to report its location and heading and to continue on my scout path to look
for more enemy fleets. After I reach the outer range of my scout path, I ask
for and get permission to head back to attack this fleet. I descend to 16k altitude
for my attack, as the area looked clear of enemy fighters up high.
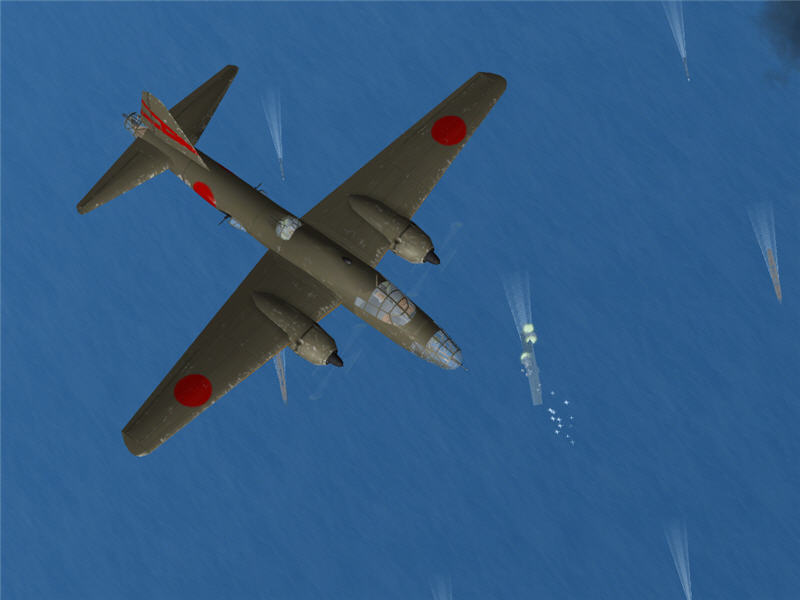
Bombs away on the fleet. (t=0:36:17)
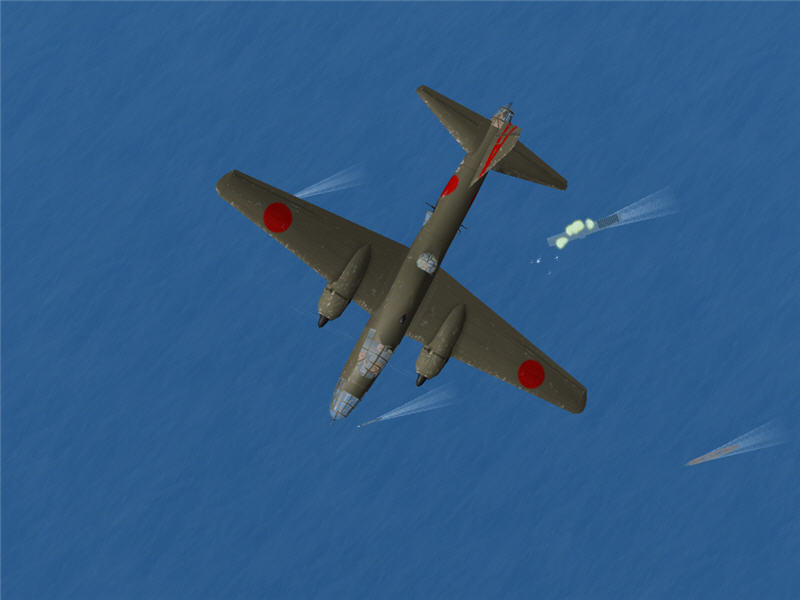
Some of my hits on the CV as I bank my Ki-67, turning to get out of the area
and head back home.
Some of my other hits on that same CV. I don't sink it, but I do destroy many
guns and other objects on the CV. After this, I went back to land. I was nervous
for part of my return as there was a bogie pacing me -- I figured it was an
enemy fighter. But it broke off as I got near to Japan.
Mission 2
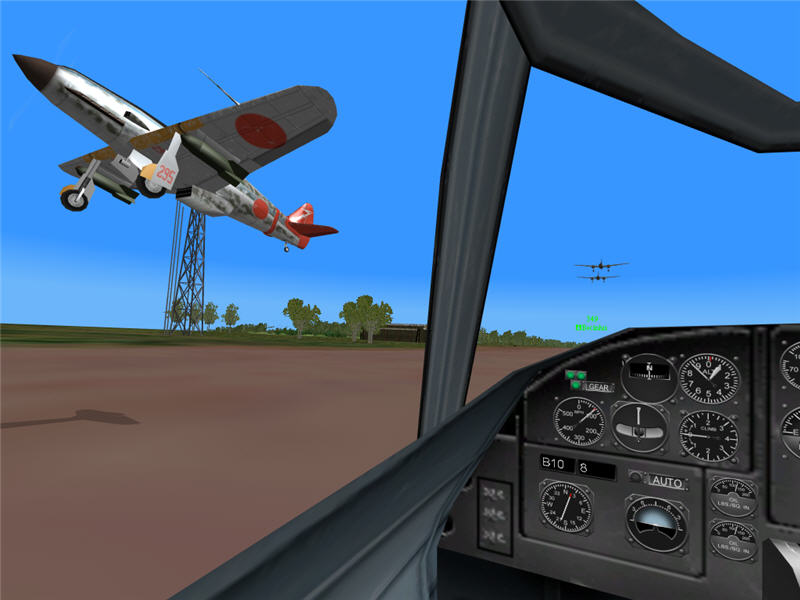
A view left as a pilot in Hien Sentai takes off in his beautiful Ki-61 with
a bomb under each wing. Becinhu (of Hiryu Sentai) takes off in his Ki-67's in
front of me. I take off for my second mission from a24 again.
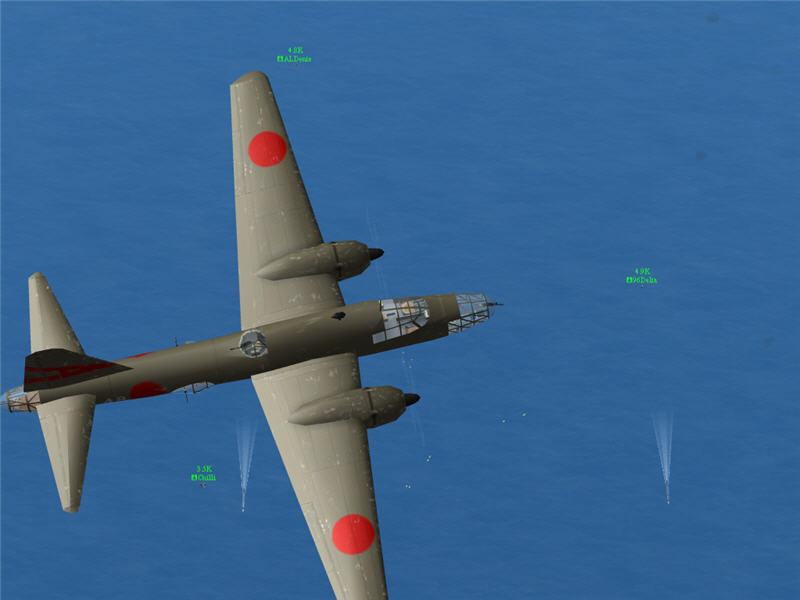
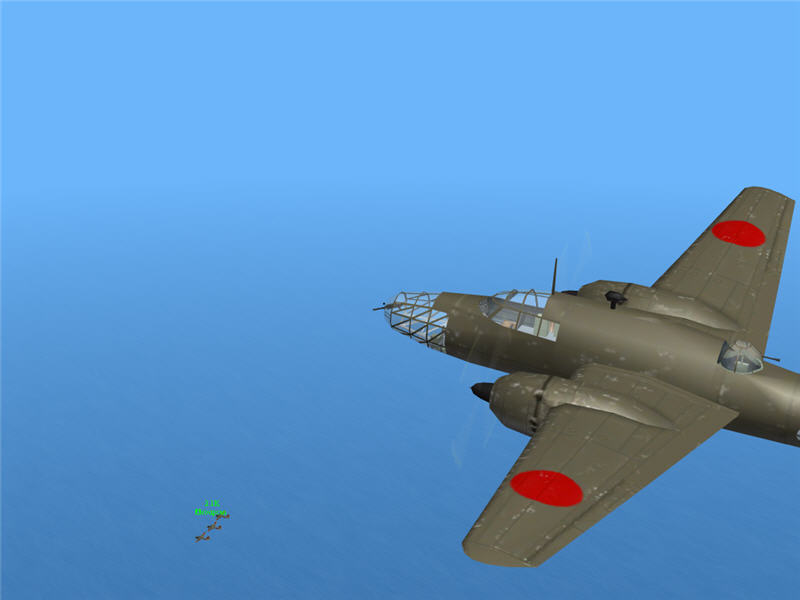
Becinhu (in his formation below me) joins up with me for another strike on the
fleet we attacked previously.
On our way out to the fleet, we come across some destroyers. This is perhaps
a US landing force. Members of Hien Sentai (96Delta, Chilli, and ALDente, among
a couple others) in their Ki-61's are working it over. I continue on looking
for larger ships, which are easier for me to hit level bombing in my Ki-67.

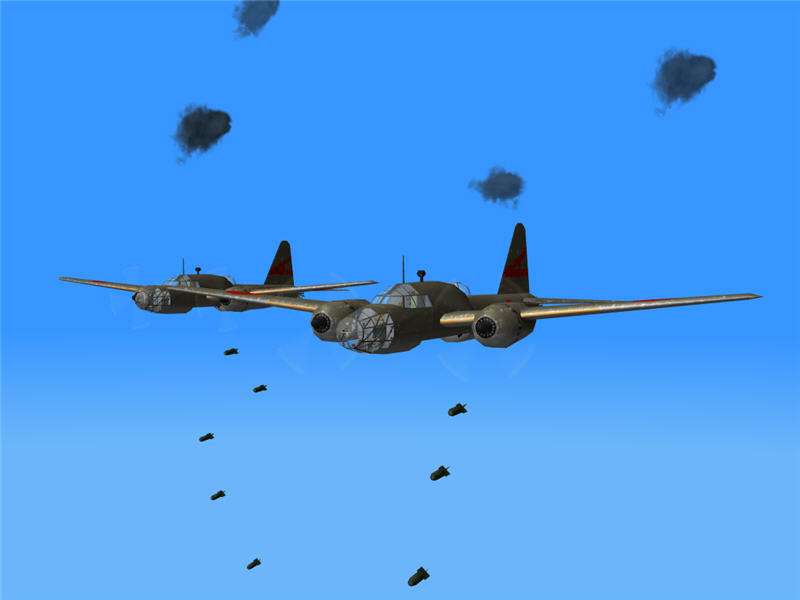
I find 2 US cruisers and some destroyers and go for a bomb run on one of the
cruisers. The ships are maneuvering, so they are difficult to line up on. (t=1:26:47)
A view out of my bombsight as some of my bombs hit a destroyer. It was not what
I was aiming for, but the ships were maneuvering. The cruiser got out of the
way of my bombs, but the destroyer following it maneuvered into my bomb path
and got hit. I didn't sink it but did destroy several objects on the destroyer.
I had some time before I'd be able to launch with freshly rearmed bombers, so
I took the time to come back to rescout the fleet I had just attacked, making
sure I got a good position report out on the radio. Some AAA is shooting at
me. There are two cruisers down there and about four destroyers. After my radio
report, I go back to land. Back in Japan, the US has disabled numerous airfields
and captured a base. I have to look around a bit until I find a base from which
I can launch Ki-67's. (t=1:37:56)
Mission 3
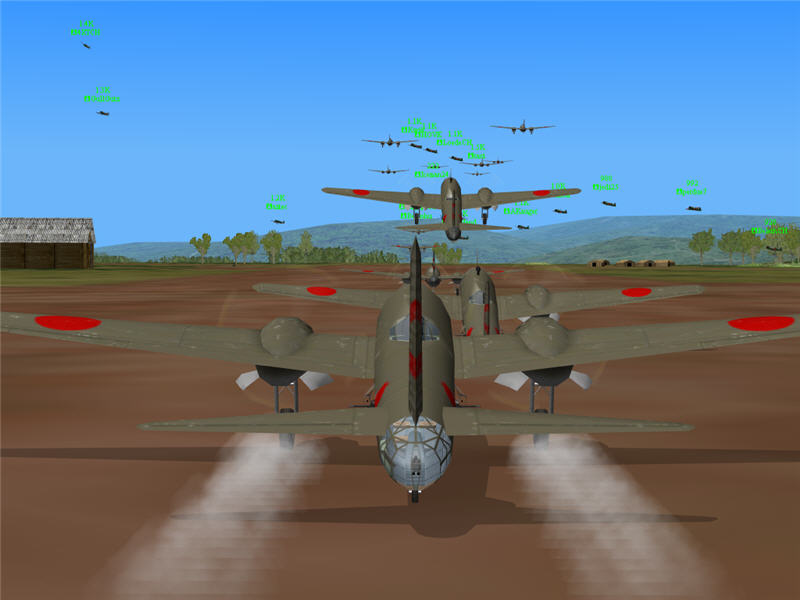
A picture of me taking off, along with a large swarm of other IJAF aircraft,
including more Ki-67's, Zeros, and various other fighters. This is over on the
east side of Kyushu, where the fighting is intense. Off the coast, the US has
several CV's still in operation. Our initial target is a CV group reported in
4,6,3. We are taking off from a31. (t2=0:00:00)
I join up with Soupcan for a bit. Reports come in that there are several CV's
in the 3,5,2/3,4,8 area. I decide I'll head over there (instead of for the one
CV in 4,6,3, which was a less-recent report). However, numerous enemy are showing
up on radar all over the place. At one point, a large formation of enemy show
up on radar (ends up being P-38's), and the majority of the fighters that took
off with us vector to intercept. I pick my own path using radar, skirting enemy
formations and end up alone, but safe. As I approach sector 5,5, a radio report
comes in of enemy CV's in 5,5,1/5,5,2. I head that way, as it is the most-recent
CV report and much closer to me than 3,5,2.
I find an enemy CV and drop my bombs for it. (t2=0:20:38)

My hits on the CV.
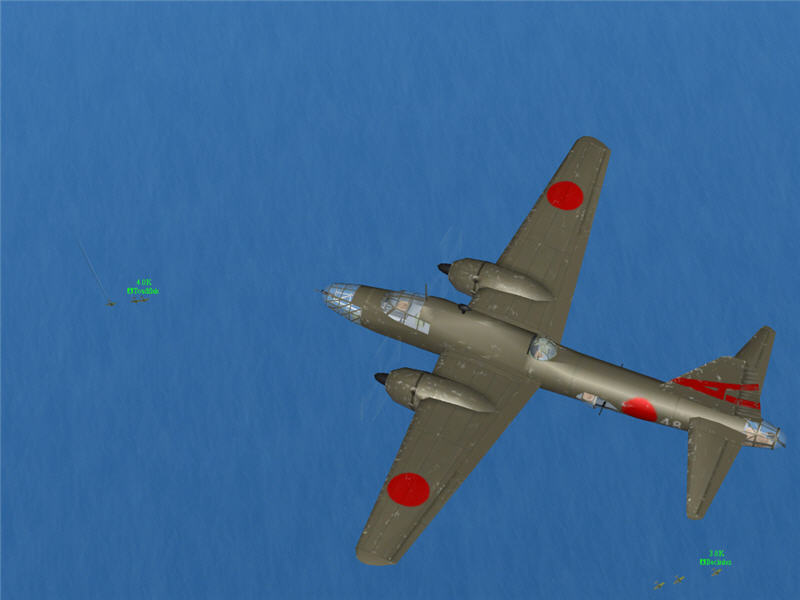
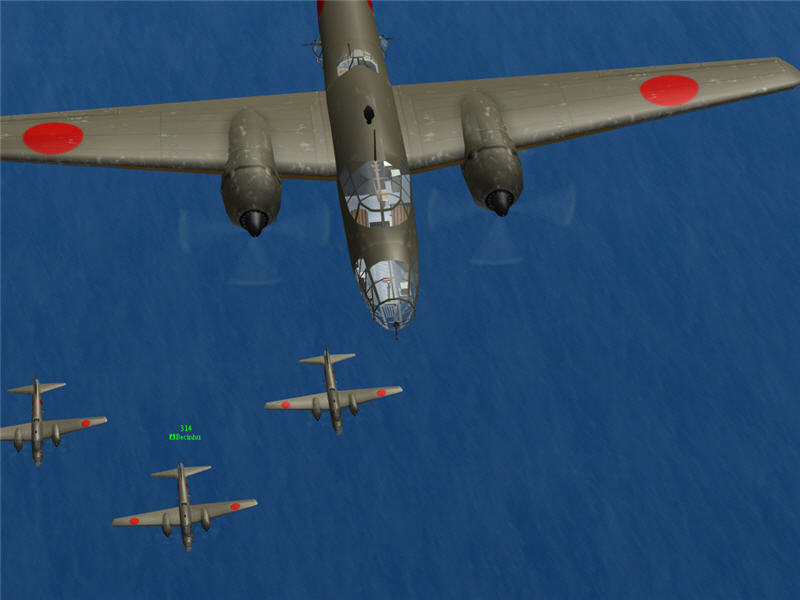
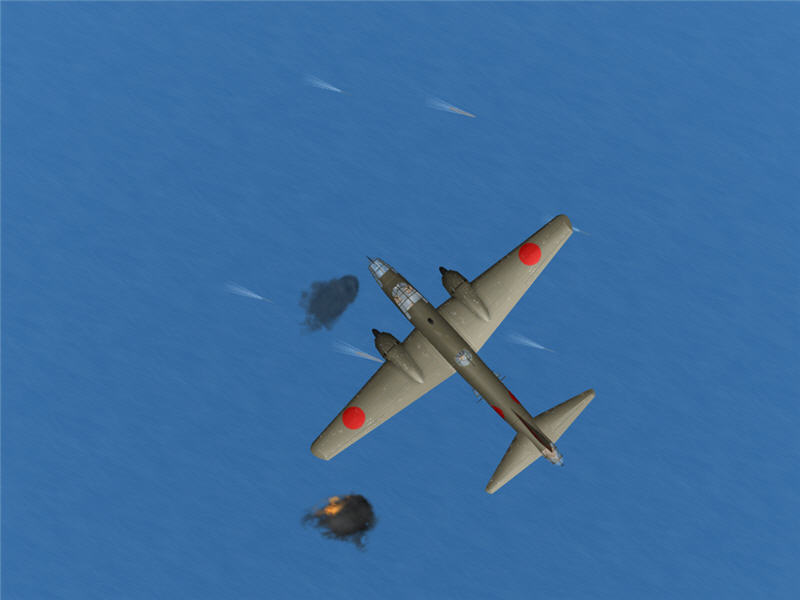
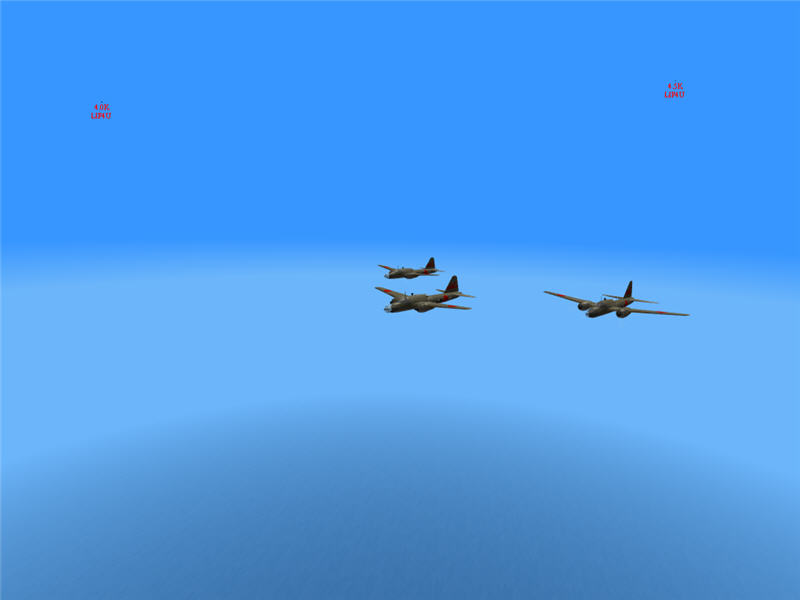
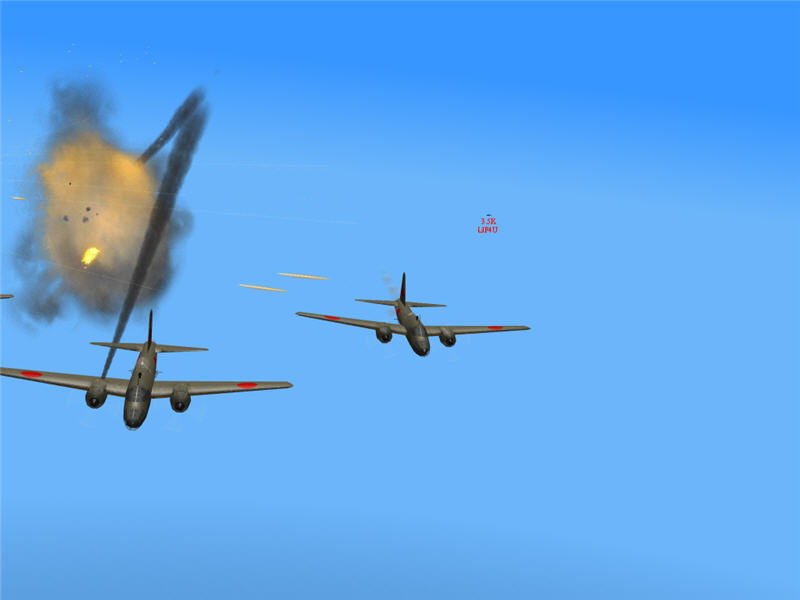
As I run from the area, I come across Toadflak and Becinhu. I think they are
going in to attack the CV I just hit. Toadflak looks like he has tangled with
some enemy fighters, as one of this Ki-67's is trailing smoke.
I try to get out of the area at 20k altitude. I see bogies around as I try to
leave the area. Two of them resolve themselves into F4U's that seem to have
enough altitude to catch me. Alas. I dive a little for speed (getting up to
over 300 mph indicated, 400 mph true) hoping to make them approach slowly from
the rear.
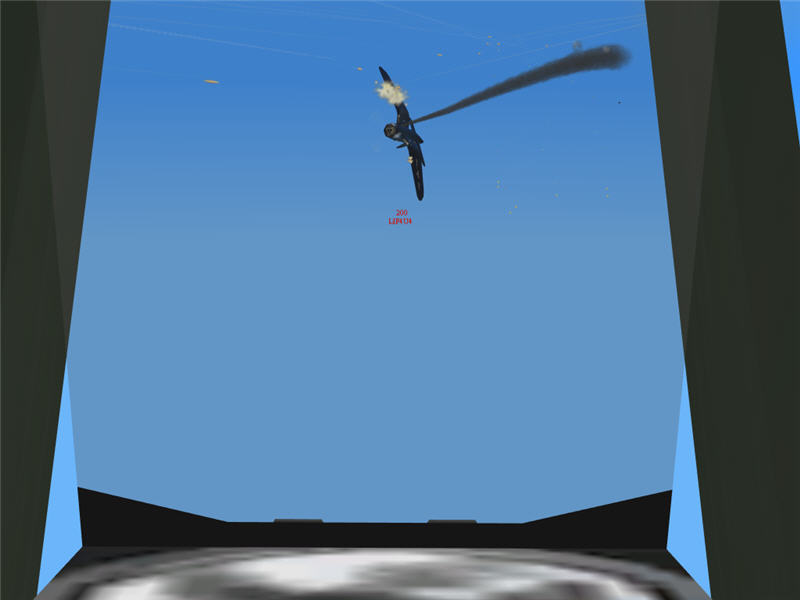
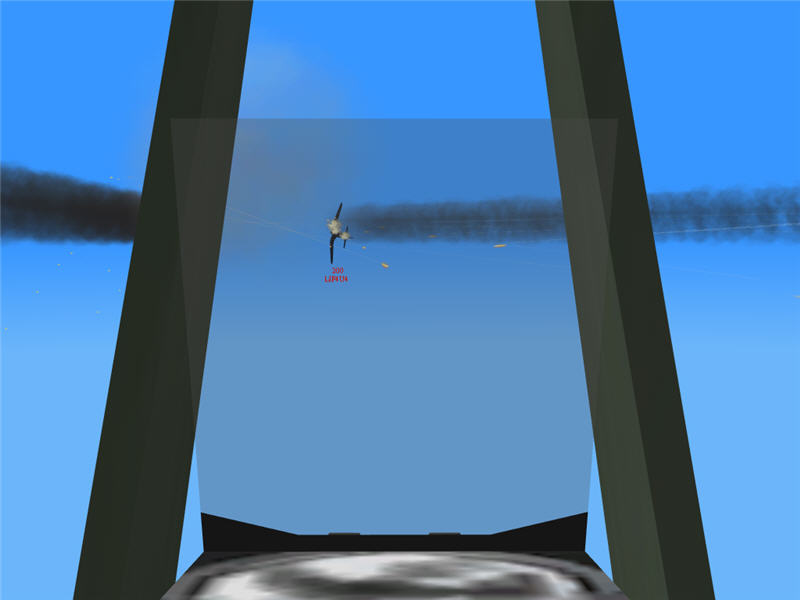
One of them closes. It is an F4U-4, and we get into a running fight. He shoots
me up -- I shoot him up. Here is a picture out my rear gunsight (rear gunner
position) as I hit him. He has started to trail smoke from some earlier hits
on his engine.
I put enough hits into him, and the F4U-4 explodes. He has knocked out one of
my gunner positions and damaged the right engine on my lead and #3 bomber. The
other F4U continues to close.
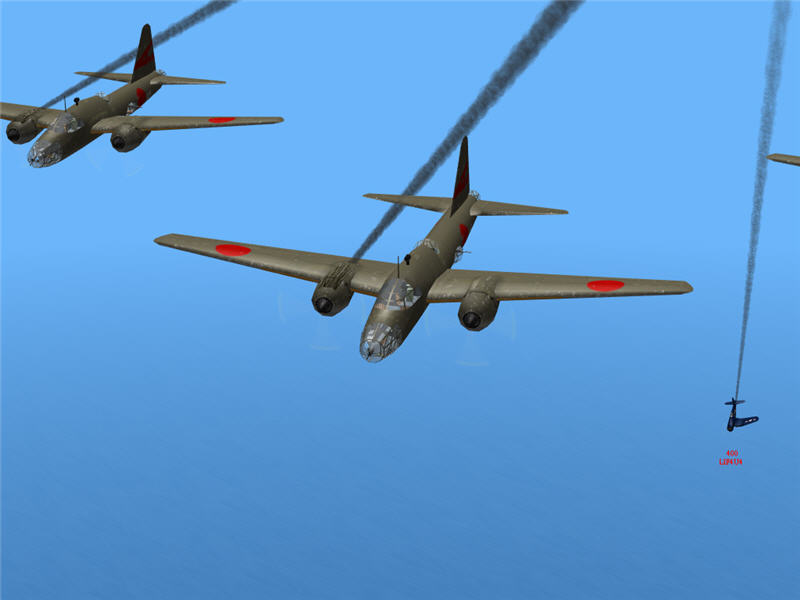
I get into another running fight with this F4U-4. This is a view from my rear
gunner position as I put some hits into him. He tries to go under me, and I
have to dive to keep him from doing that. He tries to swing wide of my rear
guns, so I turn away from him. He tried under me again, and again I dive. I
have enough speed that he eventually has to attack from the rear of my formation.
I am very thankful for the Ki-67's speed. This F4U-4 jinks around behind me,
and he is difficult to hit.
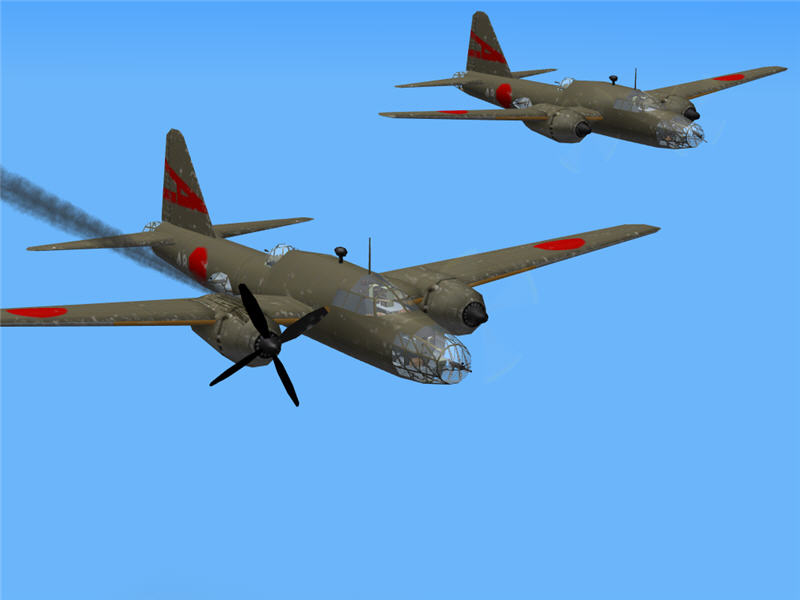
I eventually put enough hits into him start his engine smoking and then enough
to blow off his right wing, and he goes down. My right engines are trailing
smoke. I climb back up to 20k while my engines are running.
As I head back to Japan, it is only a matter of time before my smoking engines
fail. Now my speed drops greatly, to less than 200 mph indicated. Unfortunately,
there are also many enemies in the area. Again, I use the radar to try to stay
out of trouble, to thread my way between patrolling groups of enemy aircraft.
It seems agonizingly slow. I dive for speed occasionally when I have a gap to
get through.
I finally do barely get through the enemy patrols and make it back, landing
my damaged plane at a damaged airfield (a28). (t2=0:43:16)
Conclusion
Hiryu Sentai did well (111 objects destroyed and 19 kills!), accounting for
several CV's sunk. I hit two CV's and one destroyer (giving me top spot in number
of objects destroyed in the frame, but no "ship destroyed" messages)
and shot down two F4U-4's. I lived through my three missions. What a blast!
by Brooke P. Anderson
e-mail: brooke@electraforge.com
Click here to go back to my scenario page, for
pictorials on other frames of this scenario, for pictorials of other scenarios,
and for links to other content on my site.