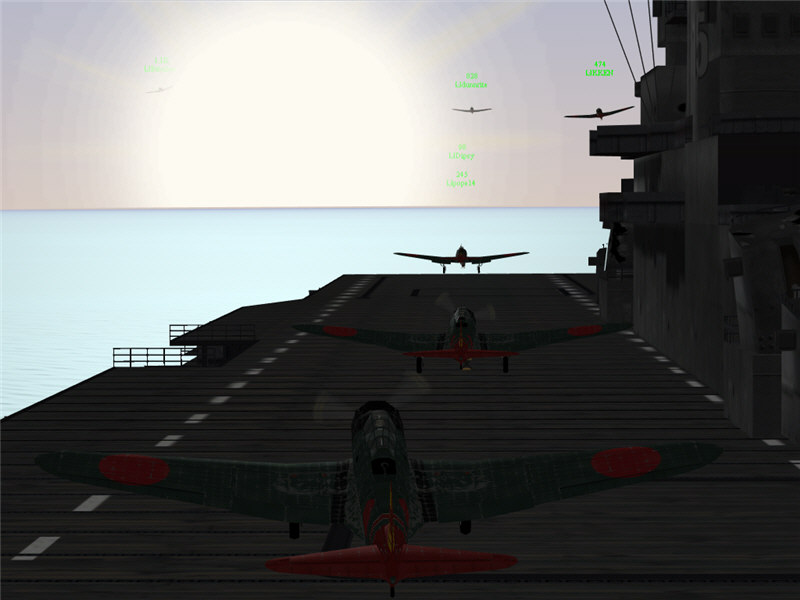
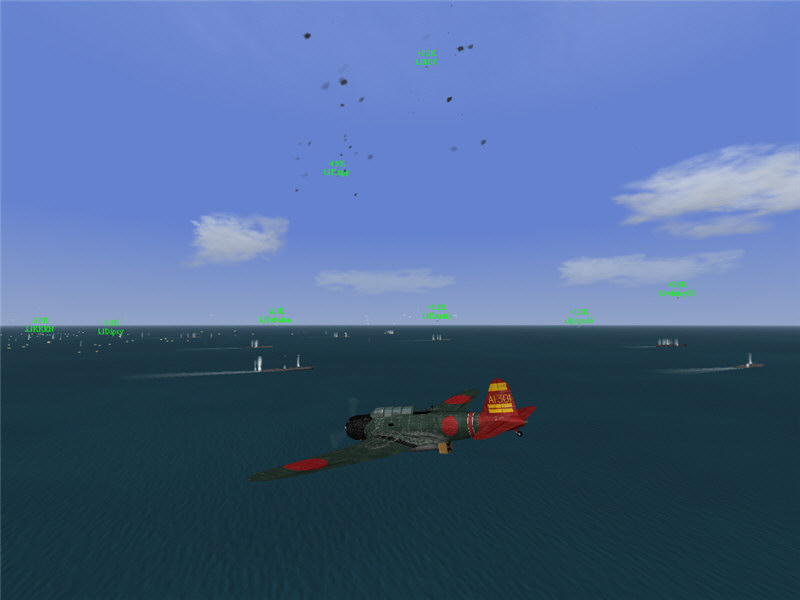
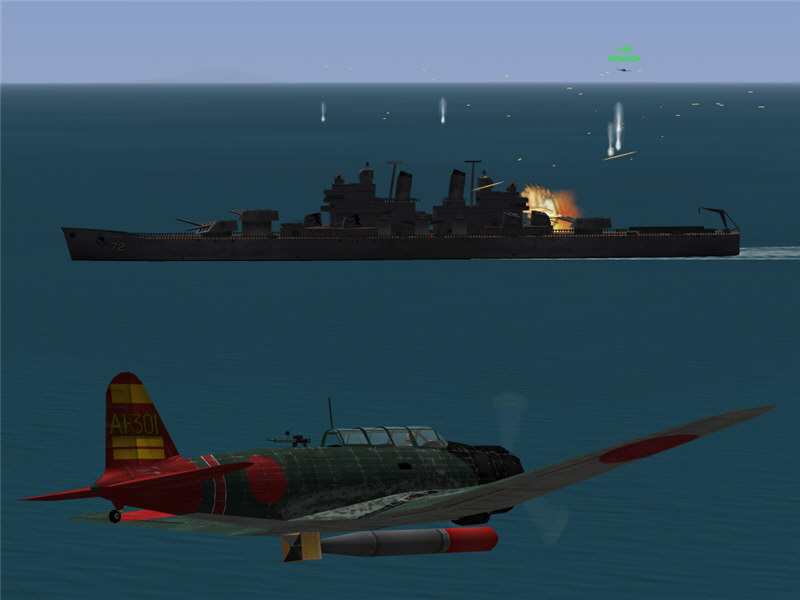
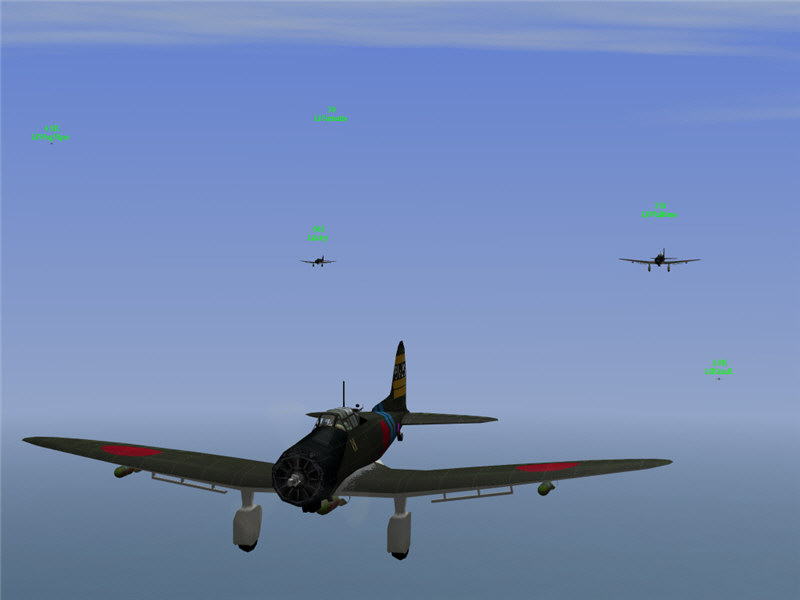
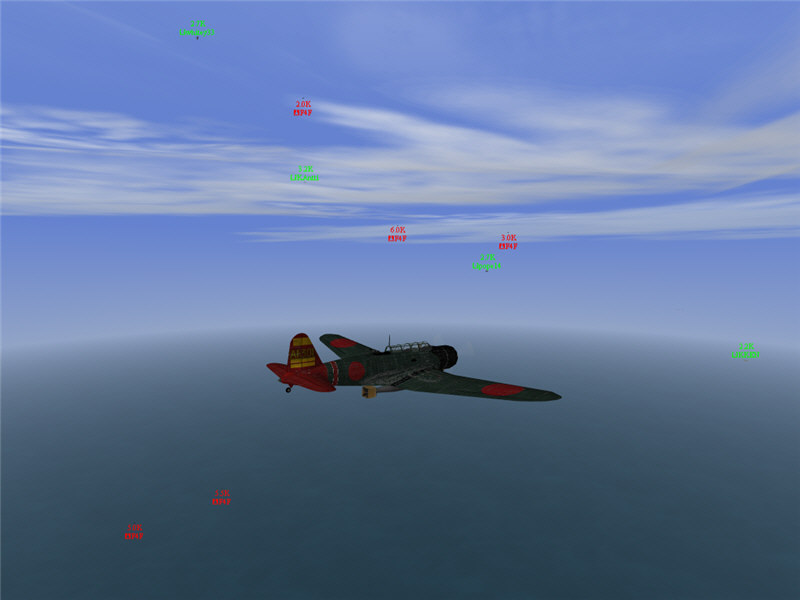
VT-Z takes off in our B5N2 Kate torpedo bombers from the Zuikaku. Into the rising sun. From top to bottom: Babalon (barely visible in the sun), dunnrite, KKEN, Dipsy, pope14, and me. t=0:09
After-Action Report
8/15/2009
by Brooke, GL, VT-Z
This was a scenario that ran in the multiplayer on-line air-combat simulation Aces High.
I was the Group Leader (GL) of VT-Z, the torpedo-bombing squadron on the Japanese fleet carrier Zuikaku. We were flying B5N2 Kates. Today, VT-Z consisted of me (Brooke), KKEN, Babalon, pope14, dunnrite, and Dipsy. We are severely short of pilots this battle. Unfortunately, the same is true of most squadrons this day, the day where we need people's best efforts.
VT-Z takes off in our B5N2 Kate torpedo bombers from the Zuikaku. Into the rising sun. From top to bottom: Babalon (barely visible in the sun), dunnrite, KKEN, Dipsy, pope14, and me. t=0:09
Our initial mission is to hit enemy cruisers that we think will be close to our carrier, but scouts have not located any yet, so we climb north, then west, then south while we await a target.
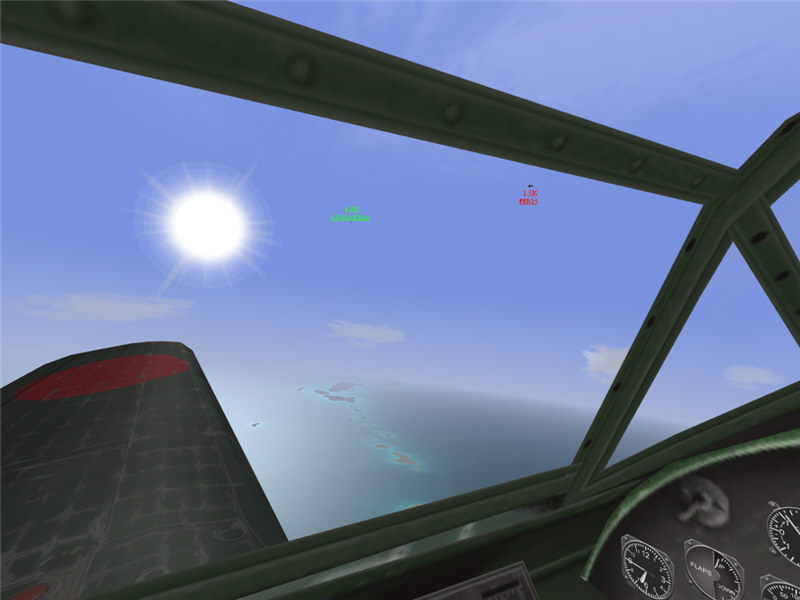
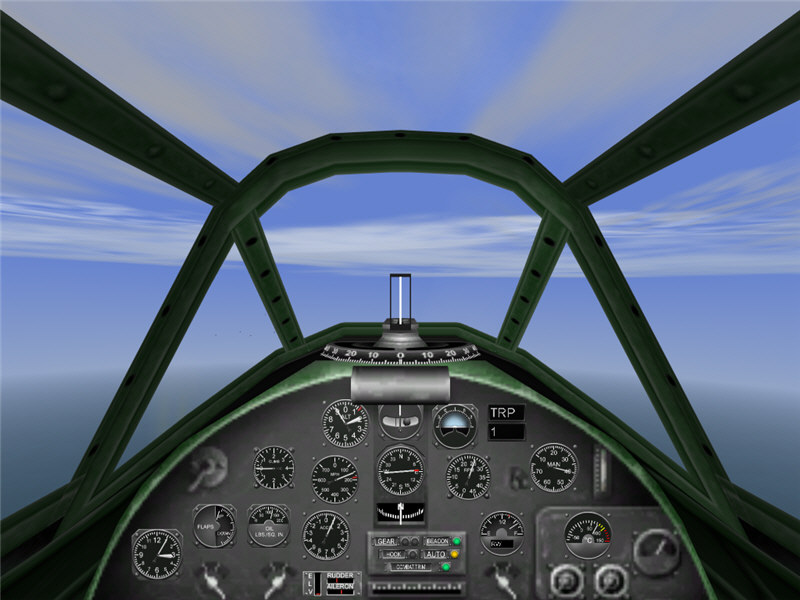
A view forward left from my cockpit. We come across an enemy B-25 scout and call it out on the radio. SNAKEiis spotted it first and warned us. t=0:17
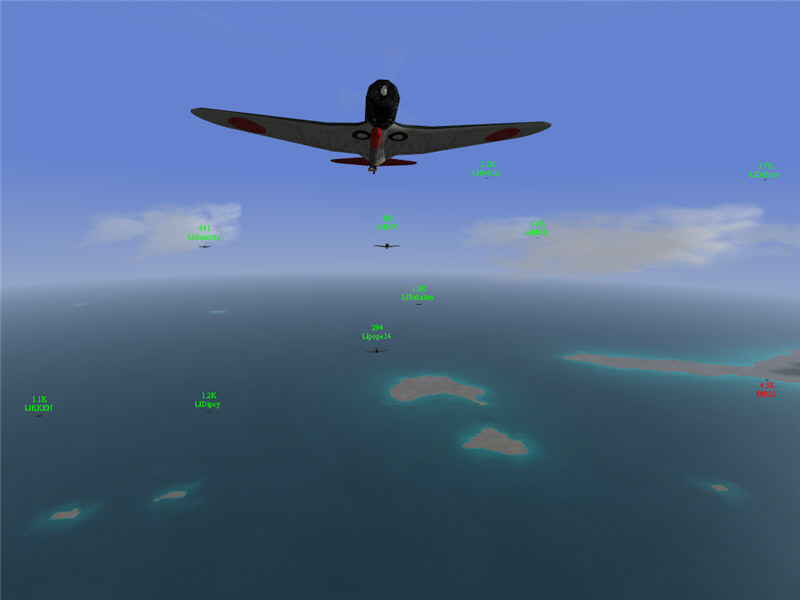
A view back as the B-25 dives past us. DrBone in his Zero dives after it and later shoots it down. Still no word on any targets. From left to right: KKEN, dunnrite, Dipsy, pope14, ROC (in a Zero escorting us), Babalon, Goblin (in Zero), MGD (in Zero), and DrBone (in Zero).
A few minutes after this, the call comes in of an enemy cruiser force near our carrier, in 9.10.2. We start heading that way. There is a little confusion as there is subsequently a call of enemy CV in the area, but that is cleared up as being our CV. There is also a call of another enemy cruiser group. All of this gets sorted out as VT-Z and VF-Z escorts (in their A6M2 Zeros) head east toward 9.10.2.
As we flew east, I called out if we had any D3A divebombers with us or nearby. Unfortunately, we didn't have any, which concerned me as then we had no good way to take out the manned AA positions on the cruisers. If we didn't take those out, VT-Z would get annihilated going in on torpedo runs. I asked our VF-Z escort to strafe out the two manned ack positions on eack cruiser if they could and gave location (immediately behind the 2nd 8-inch gun turret).
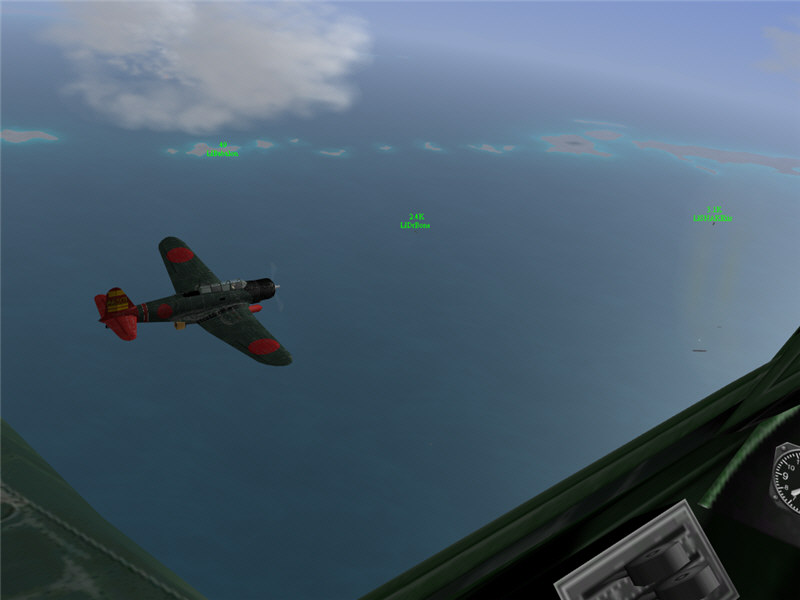
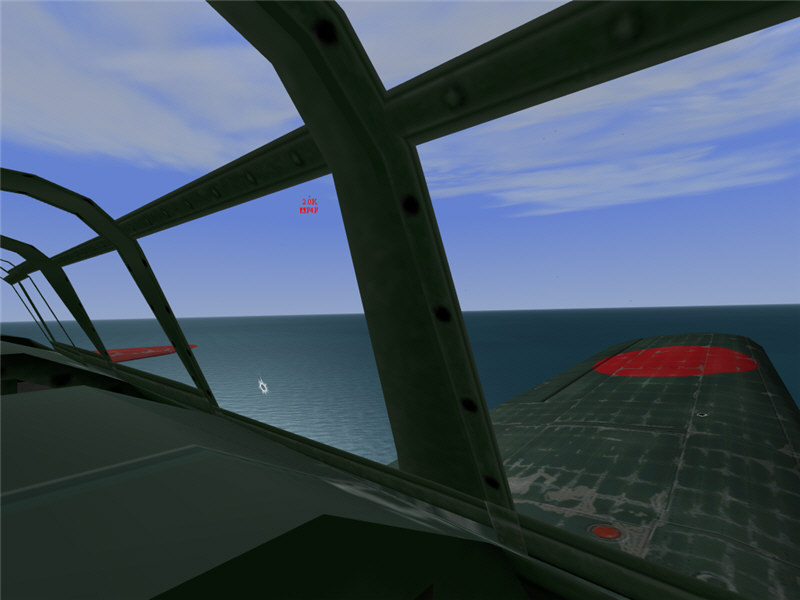
A view forward down out of my cockpit. I'm flying near Babalon, and we are coming up on the location of the enemy cruiser groups. There are two cruisers, and I ask everyone to focus on the northernmost one until it is down. Also in the picture are DrBone and SNAKEiis, going in to try to strafe out the gun positions. t=0:27

Calls of "P-39's!" come in over the radio as we circle over the enemy task groups. I ask for the Zeros to let us know if they think they've gotten the manned ack down so that I can call VT-Z to go in. After a couple of minutes, though, with puffy ack shooting and calls of P-39's, I get nervous. I worry that we'll get intercepted by a group of P-39's before we get in on the target. So I hope it's been enough time to strafe ack and call for VT-Z to dive in. t=0:30
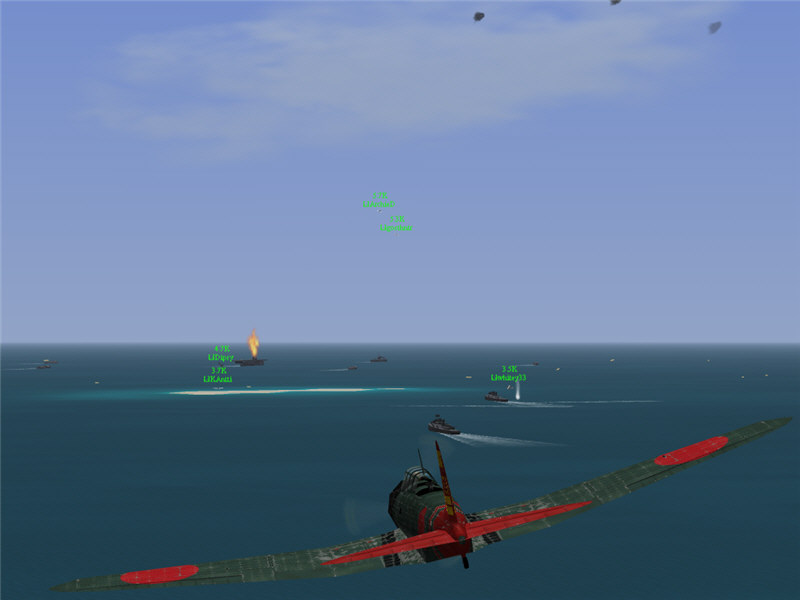
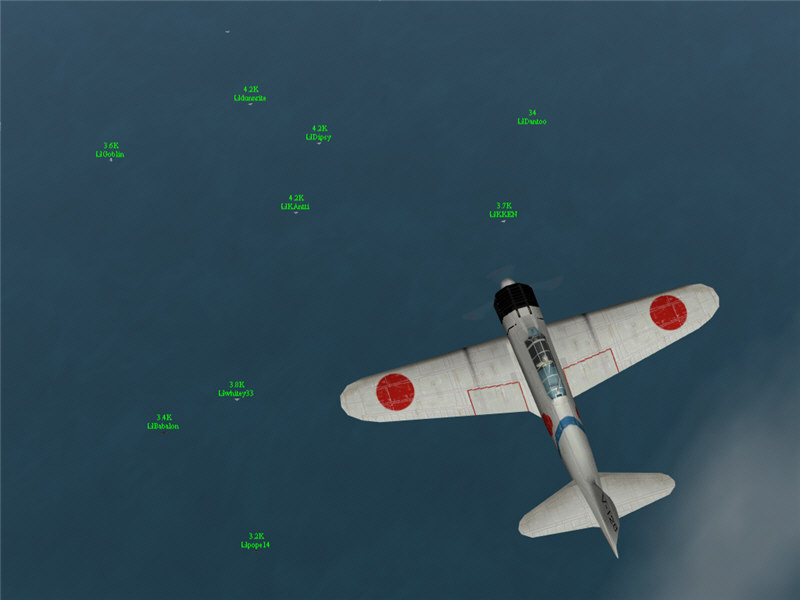
VT-Z and VT-S (which has joined us) going in. We are approaching from multiple directions. From left to right: KKEN, Dipsy, Babalon, Tlxipp, me, ROC, KAntii (from VT-S), pope14, and whitey33 (from VT-S). t=0:31
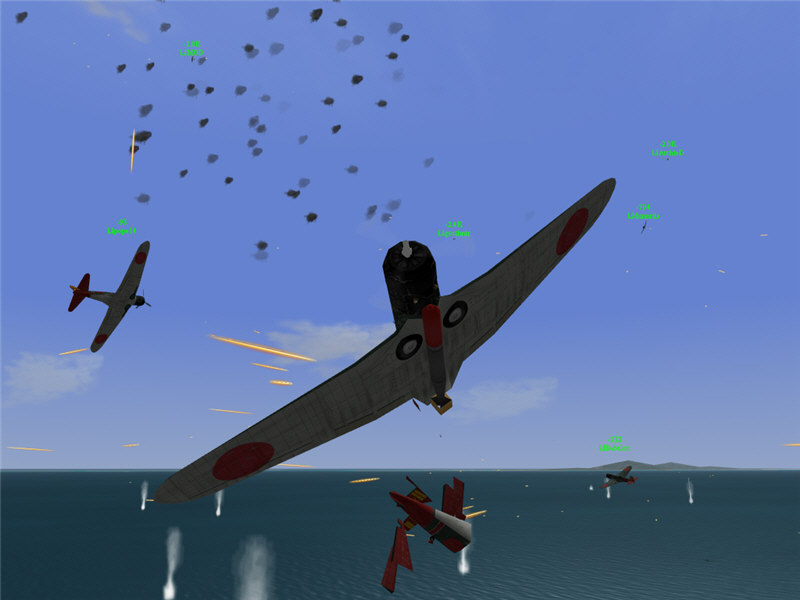
Unfortunately, manned ack blows off my tail. I had lined up on the cruiser, didn't like my approach, and had just zoomed by at this point. pope14 looks like he has lost his engine. Before I crash into the water, I call "manned ack is up" on the radio. In the image from left to right: pope14, MGD, me, gosthntr, Babalon, dunnrite, and ArchieD.
These enemy cruisers are right near our carrier at this point (so they were very close to start with). With manned ack up, I decide I'll get into the 8" guns on the Myoko and see if I can put them down from there. I turn over control of VT-Z to KKEN. They'll go in for another run, as like with me, a bunch of them were shot down in the first attack.
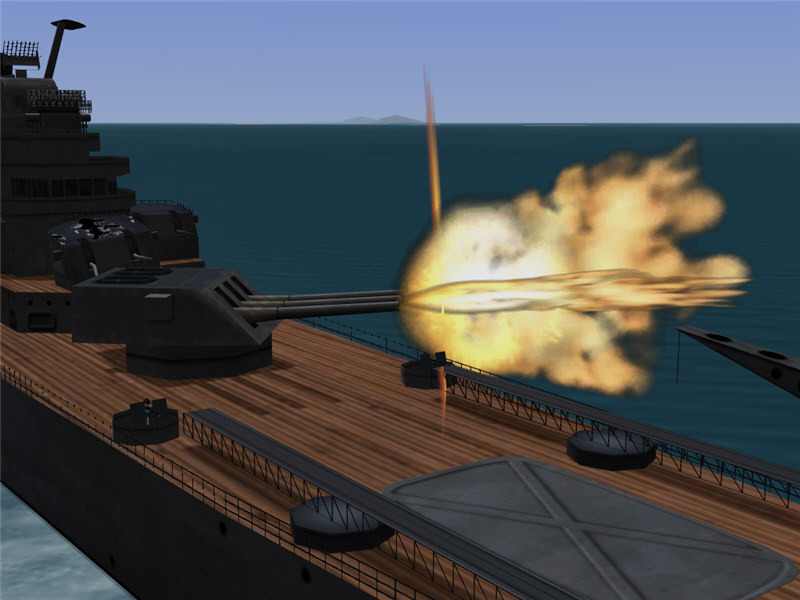
I let loose with the 8" battery on the cruiser Myoko.
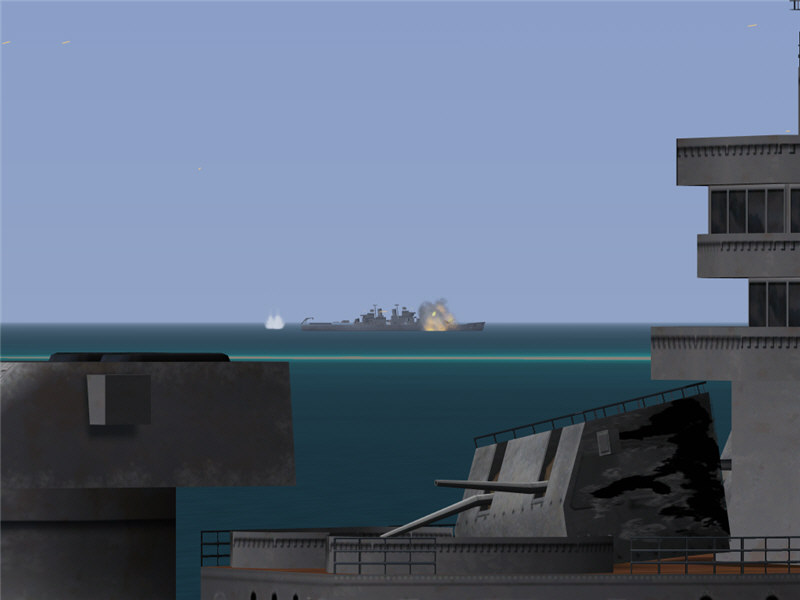
A zoomed-in view from just behind the gun as it puts forth a gout of flame. The enemy cruiser if visible through the flame in the distance, with a puff of smoke near it probably indicating an 8" shell hit. We had other gunners on the Myoko firing away. There is also one of our aircraft en route. The enemy cruiser is about 12,000 yards away, maneuvering evasively (and so harder to hit). It has been firing on the Myoko and on the Zuikaku.
I score hits right near the manned ack postion, which is what I was trying to hit. It took me about 10 minutes before I scored this hit right where I wanted. t=0:41
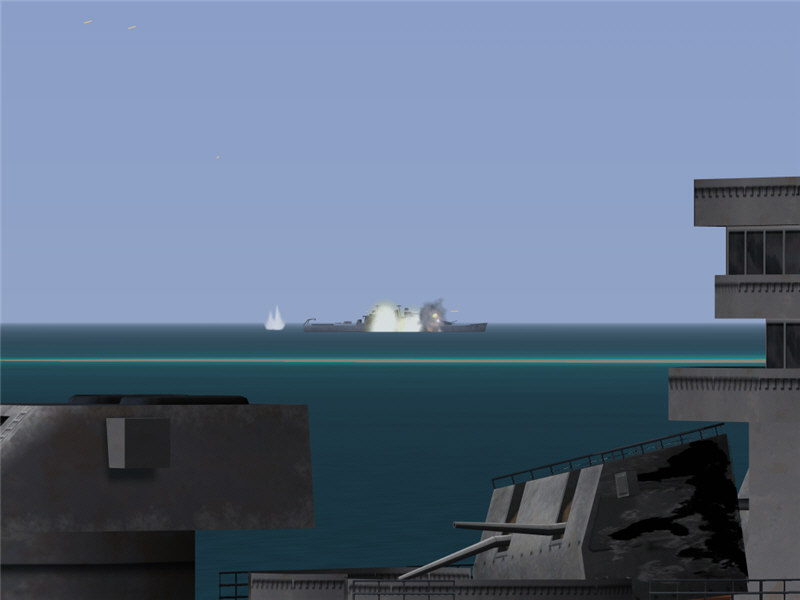
My above salvo also hits and blows up objects farther back on the right side of the enemy cruiser. VT-Z has made another run in this 10 minutes and is ready for another. I exit the gun turret and get ready to launch with VT-Z on a torpedo run.
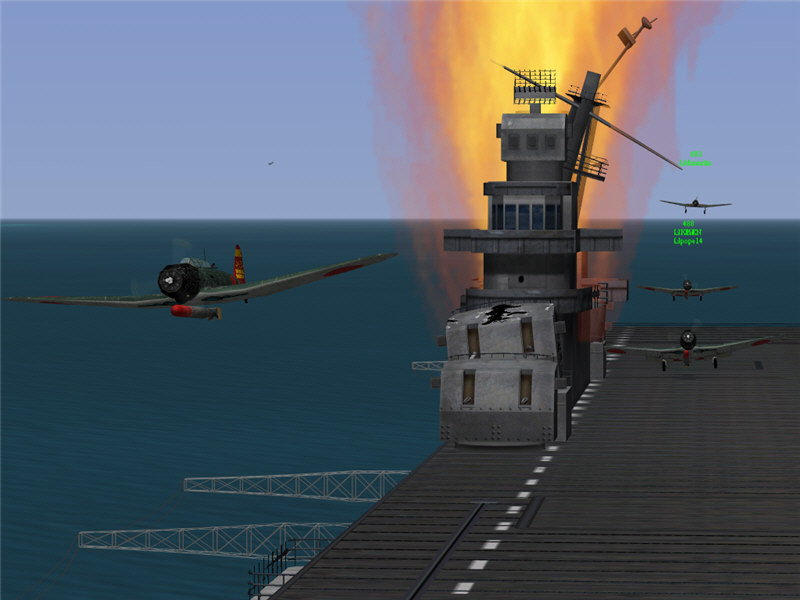
I take off in front of other VT-Z pilots landing from their 2nd run on the cruiser. From front to back: me, KKEN, pope14, and dunnrite. The Zuikaku is on fire from hits by the enemy cruiser. t=0:45
As we approach the enemy cruiser, as I'm in front, I swing around to the other side so that we can attack from both sides. From left to right: KKEN, me, and pope14. It was a little confusing with ships and planes everywhere picking out the enemy cruiser. t=0:47
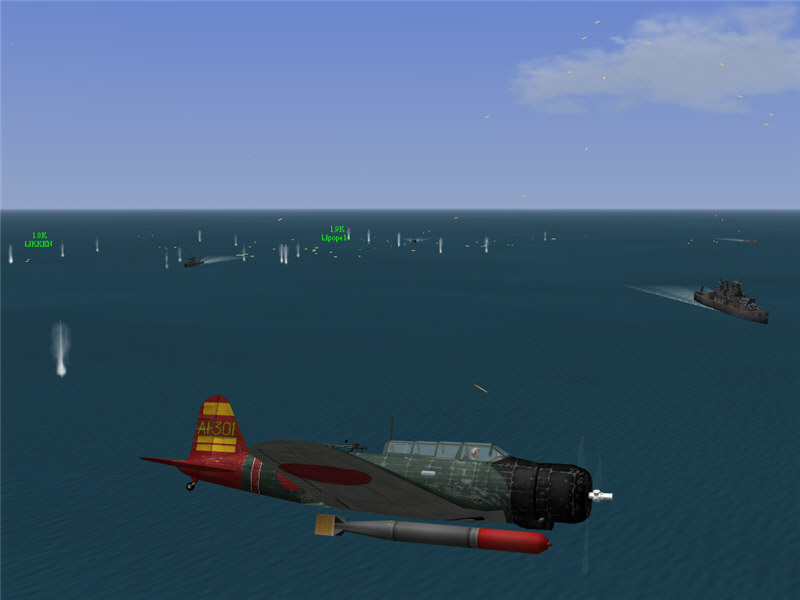
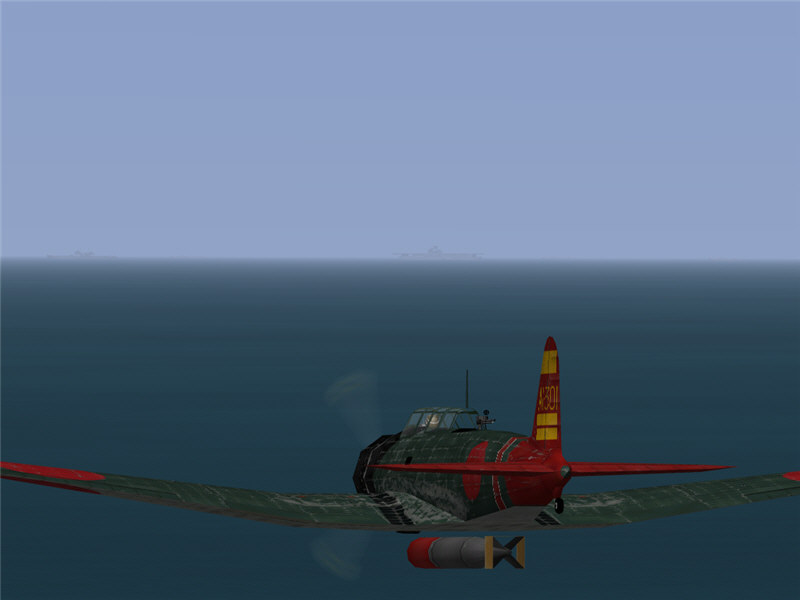
The enemy cruiser is still firing its 8" guns as I come in on my run. The forward-most 8" battery is destroyed, but the other two are still in operation. dunnrite is coming in from the other side. t=0:48

Torpedo away! I go inside the destroyer screen, nice and close, and do not take any manned AA fire. Others of VT-Z and possibly VT-S have reported hits on the cruiser.

My torpedo hits and is the final amount needed. The enemy cruiser rapidy settles by the bow and slips beneath the waves. t=0:48
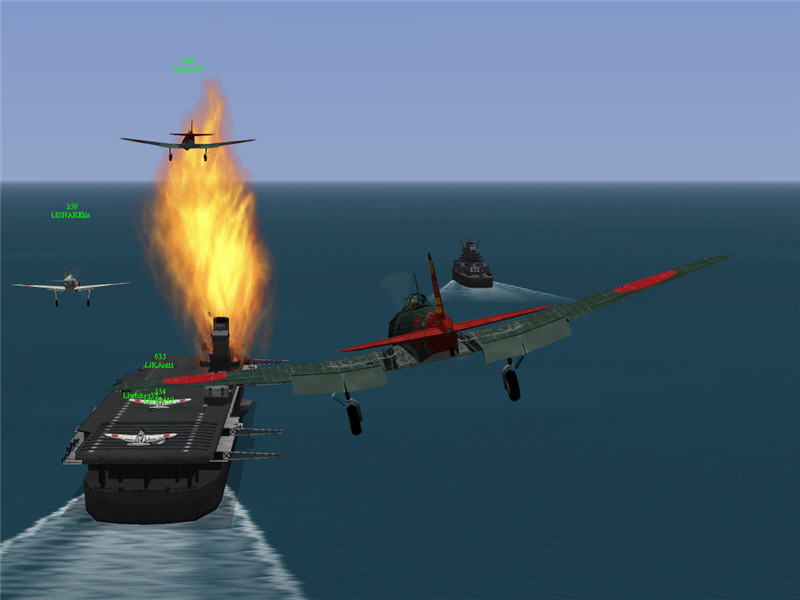
Going back to the Zuikaku, we find the remaining enemy destroyers in close proximity. We have to fly through AA to land. The ship on fire in the middle is the Zuikaku. The larger ship near it is the cruiser Myoko, and the smaller ones closest are our destroyers. The two destroyers closer to me in this picture are two of four enemy destroyers rushing in. They are sending up puffy ack as well (AAA). Some Zero pilots are starting to strafe out the AA on the enemy destroyers. From left to right: KAntti, Dipsy, ArchieD, gosthhntr, me, and whitey33. t=0:50
Landing back at Zuikaku. From top to bottom: pope14, SNAKEiis, me, KAntti, whitey33, and (can't tell). t=0:51
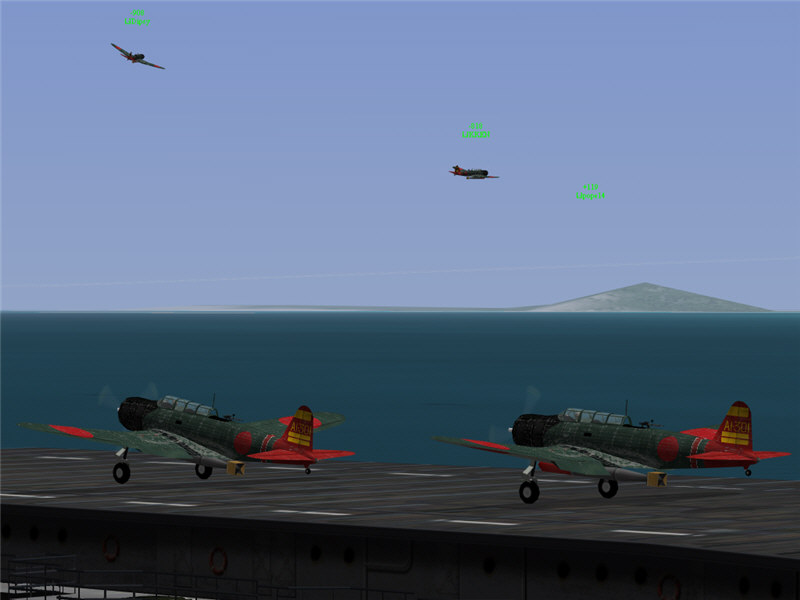
A picture of me and pope14 on our takeoff roll on Zuikaku's deck. Dipsy and KKEN are already in the air. t=0:52
We take off and look for the 2nd enemy cruiser, but the area is clear. The other cruiser is already also sunk. At this point, we still haven't found enemy carriers. VT-Z spreads out and starts searching. I call Enkre (head of scouts) on the radio and ask him which sectors the scouts have searched so as not to duplicate. About this time, a USN strike attacks and sinks the Shoho. Bad news for us. VT-Z searches for a long time, and then someone finds the enemy carriers in 12.9.2 around the t=1:30 mark.
By this time, unfortunately, we are critically short handed. I try on the radio to coordinate and get together a strike package to go hit the enemy carriers. We have 9 B5N's together and are trying to get some D3A's (to hit manned ack) and Zeros (to get us through the enemy CAP). I have the B5N's racetrack in 10.8.5 while any other elements that can join us. About half an hour later, the USN strikes and sinks the Zuikaku. We manage to get four D3A's and three Zeros to join us, and Enkre joins us in his Ki-67 to scout ahead. The Heroes of the Final Strike! We will go forth for the glory of the Emperor! We gather and head east from 11.9.2.
The heroic D3A Val divebomber pilots who have joined the strike. From left to right: WngViper, icky, Curnutte, Wulfbane, and one of the heroic Zero pilots, KlunK. t=2:11
The heroic Zero and B5N pilots who are in the strike. From left to right: Goblin (in Zero), Babalon, me (unlabelled little dot at top of picture), whitey33, dunnrite, pope14, KAntti, Dipsy, KKEN, and Dantoo (in Zero). t=2:11
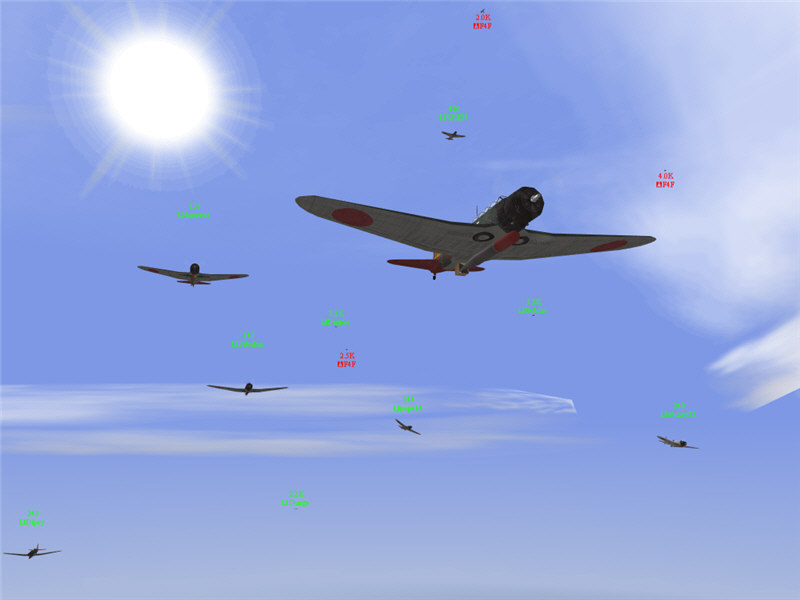
A first trio of F4F Wildcats overflies us, then comes in for a high-speed attack. We are probably about at the radar circle of the enemy carriers. We are at about 18,000 ft altitude, heading east. From left to right: Dipsy, dunnrite, Babalon, Charge, Dantoo, pope14, KKEN, me, Goblin, and whitey33. t=2:19
I evade an F4F that comes for me. They are mixing it up, and we are getting spread out, but we are doing OK so far -- not many casualties. I get attacked here and there and take a few minor hits. In between attacks, I get back to heading east. t=2:21
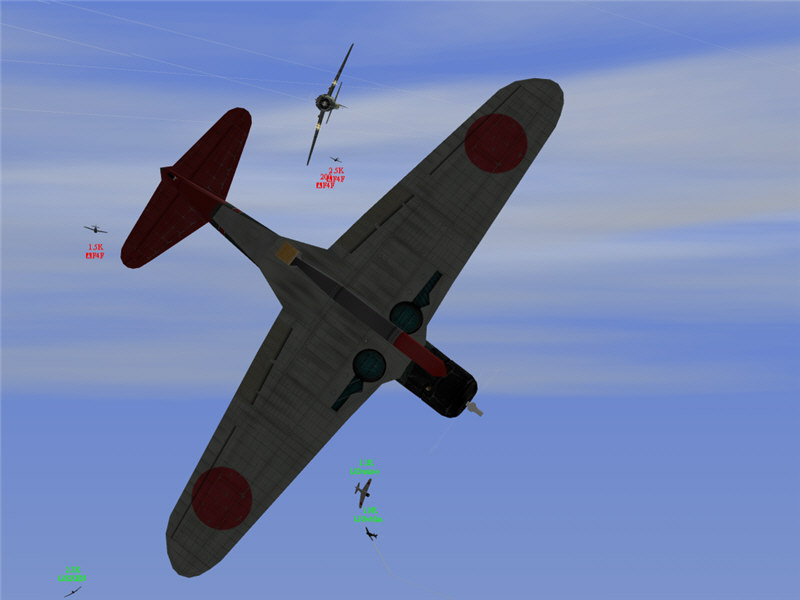
More F4F's join the fray. Some have been pushed down by the heroic Zero pilots. A few fresh F4F's come in with altitude. There are about 6 F4F's in the area now, but we are doing OK so far. We have lost 2-3 planes, but overall we continue to push east. From left to right: KAntti, me, pope14, and KKEN. t=2:21
Then I see a bunch of bogies appearing to my forward left (black dots forward left). Ah, crap. We can't handle another six or more Wildcats. I decide to dive out forward right, hoping to scoot past them, then head to the carriers on the deck. t=2:22
Damn. I almost got away by diving to the deck and scooting past at high speed, but one Wildcat spotted me and followed. Only one is on me. If only I can cause him to crash. Or, maybe ROC (who is in as my gunner) can hit him with a golden BB! t=0:23
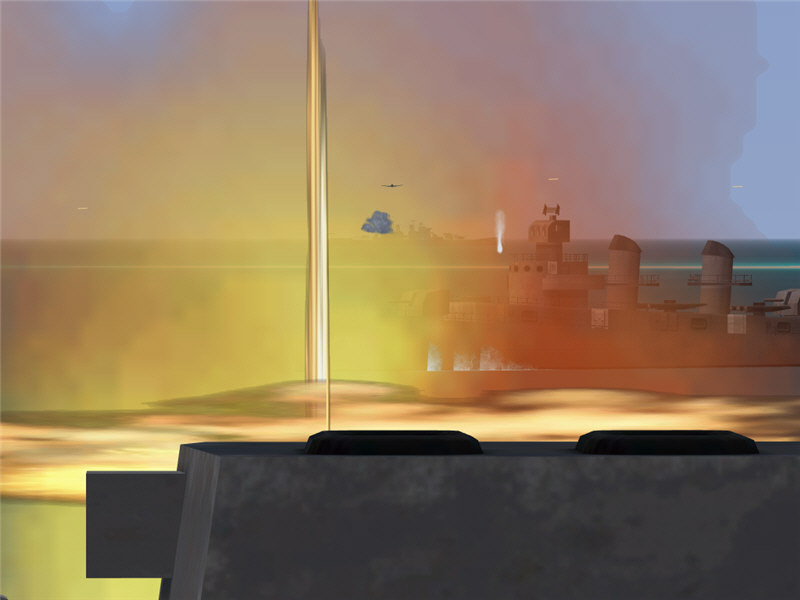
A view ahead of me as I race along on the deck. The enemy carrier and its cruiser are in the distance.
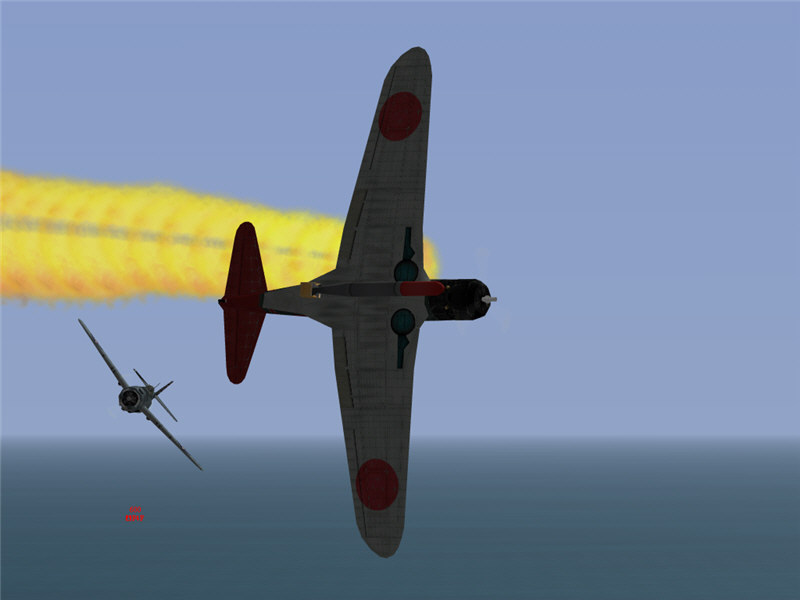
I try to evade the F4F, but a few rounds find my wing tank and set it ablaze. t=2:23

I go down in flames in sight of an enemy carrier.
I got got shot down, got a torpedo hit on and sank one cruiser and returned to land, then got shot down on the final strike.
VT-Z was in on the sinking of 1-2 enemy cruisers, but we didn't get in on enemy carriers this day. VT-Z, it was an honor and a pleasure to fly with you guys, and I'd do it again any time. <S>
-- Brooke, GL, VT-Z (ret.)