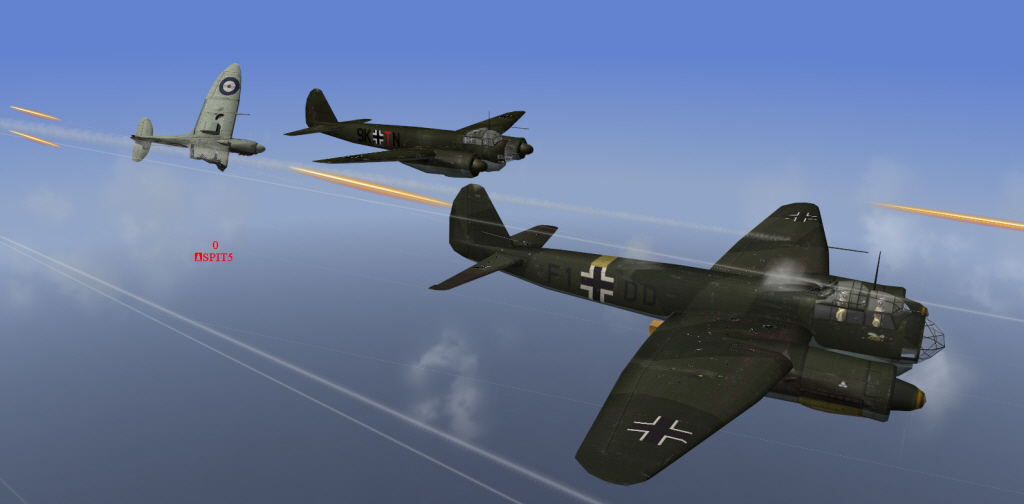
I give an attacking Spitfire V a facefull of lead. Popsman is down one bomber and blasting away at one of the attackers, one of my bombers is leaking fuel, and Tudza looks OK so far. t=1:00
After-Action Report
3/23/2013
by Brooke, GL, II/KG77
This was a scenario that ran in the multiplayer on-line air-combat simulation Aces High.
Popsman, Tudza, and I took off from our home base in our trusty Ju 88's, each armed with two torpedoes and 20 50 kg bombs. That way, we could go after land bases or ships, whichever opportunity presented. We three were the Luftwaffe bomber force, with the rest of the pilots in fighters working to get some payback from those limeys over Malta. We climbed to 20k and milled about for a while. It looked like our boys were doing well, so we started to head south down column 12 to get closer to Malta to make a run for the factory while the allied fighters were occupied north of the island.
As we got close, though, radar showed fighters getting back up over Malta and maybe heading NE toward KG 77's position, so I had our guys do a quick 180 and run north. A flight of Spitfires chased us down, and we got into a running fight.
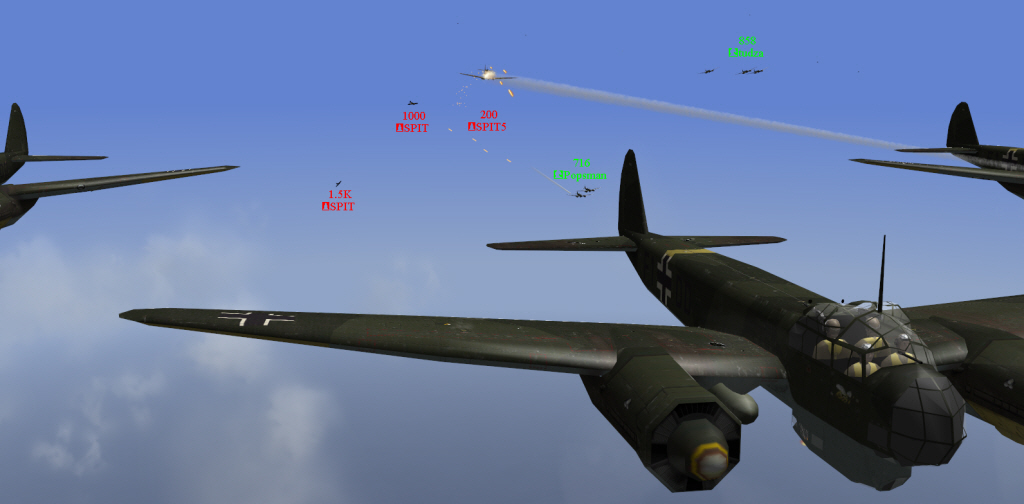
I give an attacking Spitfire V a facefull of lead. Popsman is down one
bomber and blasting away at one of the attackers, one of my bombers is leaking fuel,
and Tudza looks OK so far.
t=1:00
We ended up fighting our way out of it and making it back to base to get fresh bombers.
We took off with fresh planes, same loadout as before, and got back up to 20k. When it looked like our fighter pilots had the RAF tied up north of Malta again, I had us get to about 40 miles from Malta, and when the radar over Malta showed it to be clear (at least momentarily), we went for the factory.
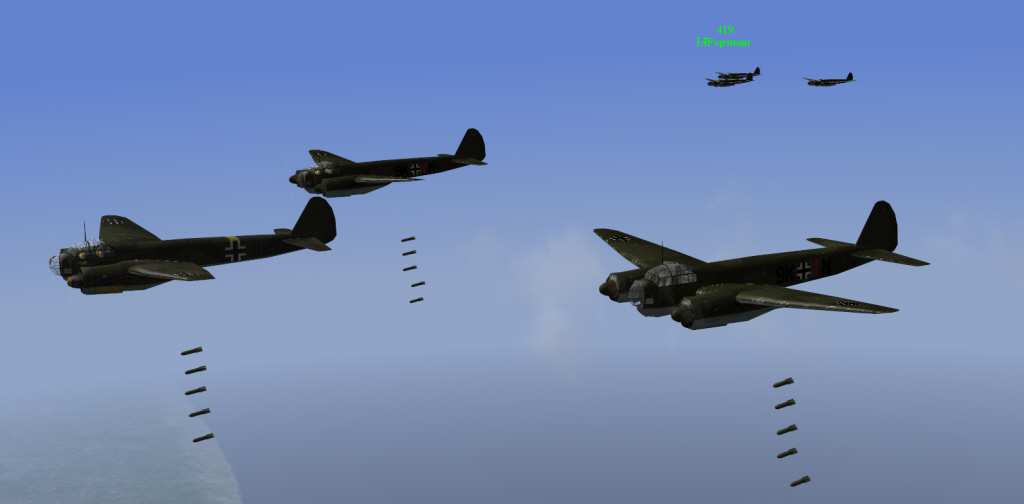
Bombs away on the fuel factory. Popsman is behind me about to drop as
well. t=2:00
The factory below is on fire and billowing smoke. Good work, guys!
We started to come under fighter attack just as we dropped, and more enemy fighters joined in about 1 minute later. A running fight ensued as we ran south from target (away from more enemy forces). Being at 20k helped us here, as the enemy fighters weren't much higher than we were.

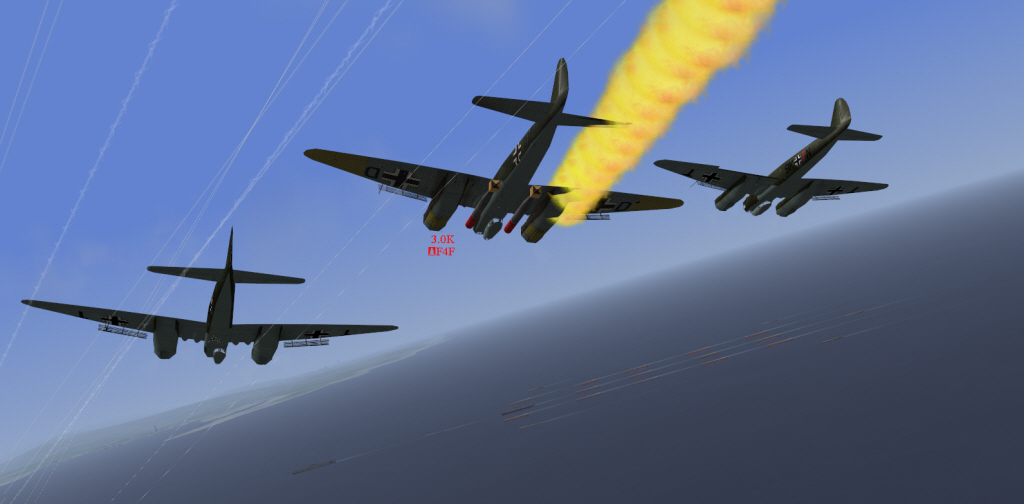
Looking right out of my cockpit, I see an attacking Seafire light Tudza's lead
bomber on fire. t=2:02
There are 5 or more enemy fighters on us. Tudza is the most-heavily attacked at the start, and once he is down to one bomber, they go after him preferentially. Soon, his last plane is down. Then they transitioned over to me. In the fighting, I drifted off to the left of Popsman, so when they followed me, it allowed him to get clear. I thought I was a goner, as there were five Spitfires on me. However, I was lucky enough to get Ruah as a gunner. He is excellent, and the two of did our best to make those Spitfires work for it. Soon, one Spitfire broke off, trailing oil, leaving 4.
We pour the lead into one of the Spitfires, and it explodes. Now there are
three. t=2:07
We blow the wing off another. Now there are two.
My bombers were getting quite chewed up, but we were landing hits on those Spitfires, too. I had turned us back to the north once we were a sector away from Malta, and we had a running fight with the two remaining Spits for a while until they broke off and left us alone. I'm guessing they were long out of cannon rounds. Whew! Thank you, Ruah! <S>
Now I was clear, and so was Popsman. I still had both torpedoes, so I decided to see if I could find ships to attack. I had overflown some near the Malta ports on our way in to the factory, so I headed back that way. As I neared the port, I saw the merchant fleet and reported it on the radio. The area was clear so far, so I went in for an attack.
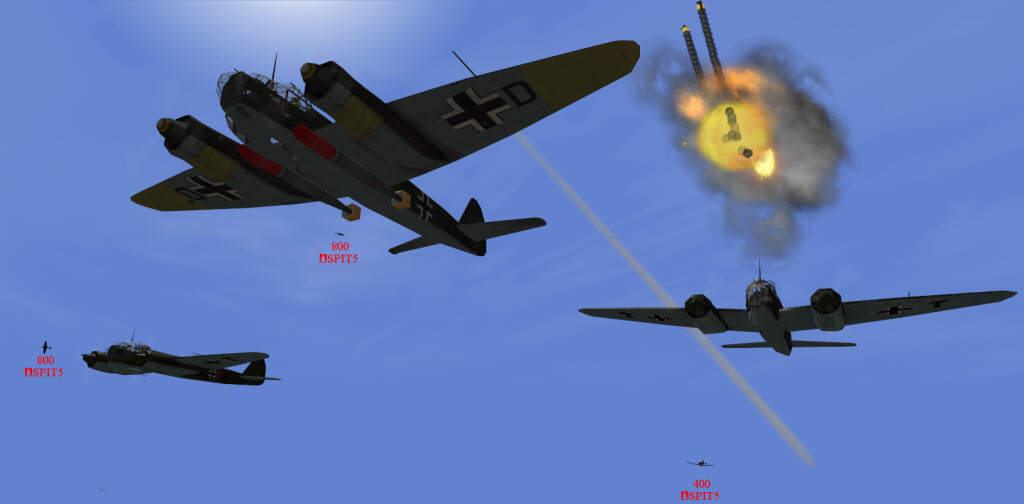
I get jumped by a Spitfire as I come in. Here, a Spitfire lights my lead
bomber on fire. I've got my speed brakes out trying to get down to the
deck and slowed down to torpedo-drop speed. t=2:17
Unfortunately, it was again a case of me getting close, but not close enough to drop torpedoes. Popsman tried going in, too, and met the same fate.
Now that we knew where the merchant fleet was, we got up to try for one last attack on them. By now, our fighters had gotten depleted by the constant fight to try to win air superiority over Malta, and the enemy outnumbered us, so I figured they'd have plenty up at high altitude. Also it was getting late. So, I had us stay on the deck under radar to see if we could get lucky and sneak in. We did get close, and then one Spitfire showed up. Only one so far, though!

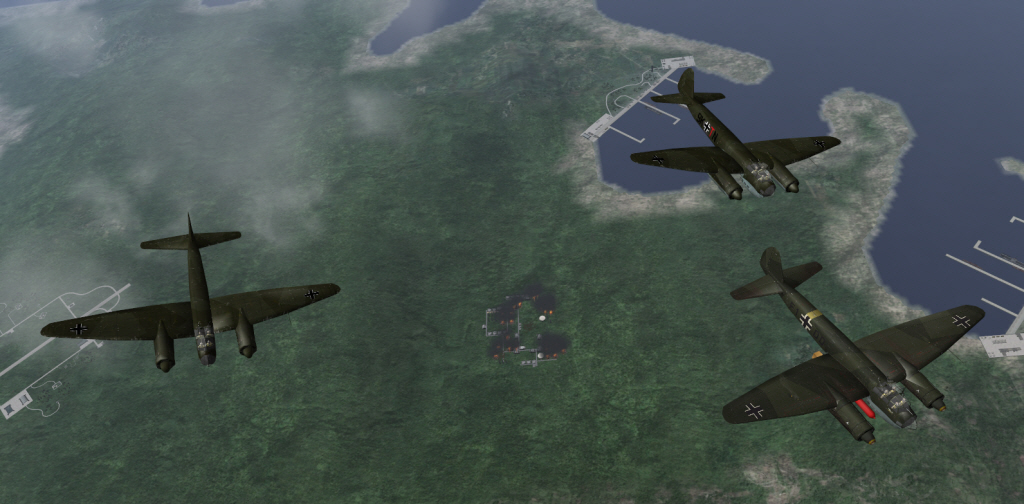
I come in low and slow, lining up my run. Manned ack takes out one of my
bombers. t=2:53
Closer in still (175 mph on the deck, lining up) another Spitfire entered the fight. I lost another bomber.
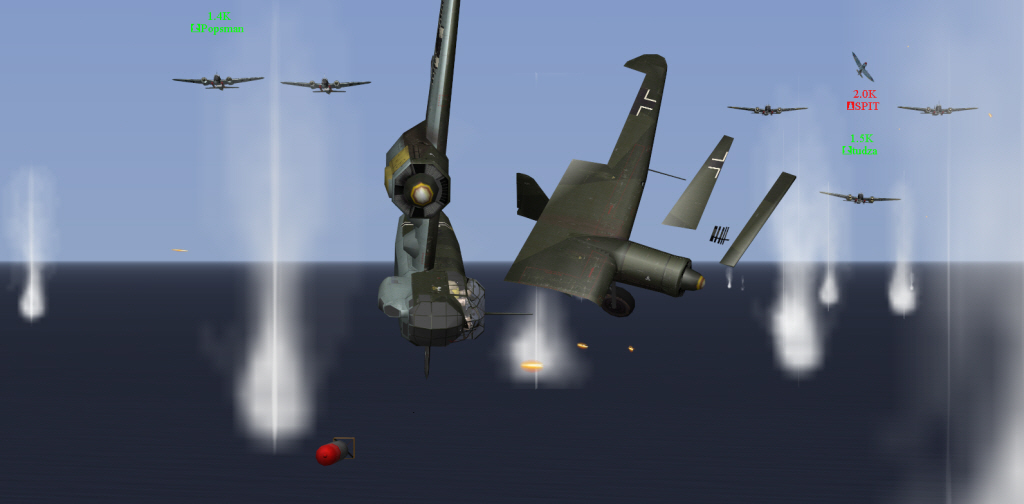
One of the Spitfires takes the wing off my remaining bomber as spashes from AA
erupt around me. As I hear the hits and feel her roll uncontrollably left,
I drop my torpedoes, hoping that they'll still hit. Popsman is down to two
bombers behind me and lining up. Tudza has three still and is lining up.
Unfortunately, the manned ack and the Spitfires got Popsman and Tudza before they got good drops. Soooooooooo close -- another 5-10 seconds, and I would have been at my ideal drop point. I heard afterward from the gunner on the enemy ship that torpedoes missed a ship by only a tiny amount. Alas, but we went down fighting.
-- Brooke, GL, II/KG77