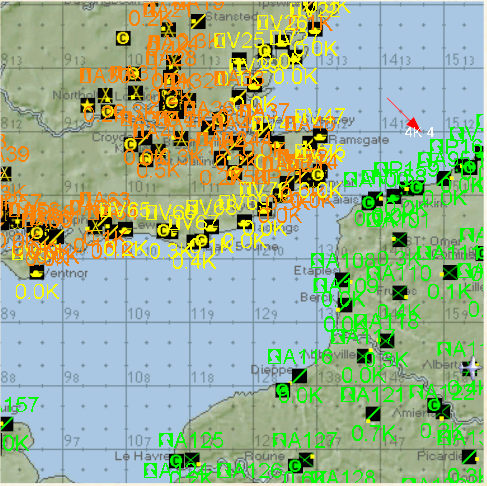
Map of southeast England and our home base of Lille-Nord (a119, shown by my plane icon).
After-Action Report
9/4/2013
by Brooke, GL, KG 53
This was a scenario that ran in the multiplayer on-line air-combat simulation Aces High.
Map of
southeast England and our home base of Lille-Nord (a119, shown by my plane
icon).

A zoom
in on our target fields of a60, a58, a63, a64, and a62.
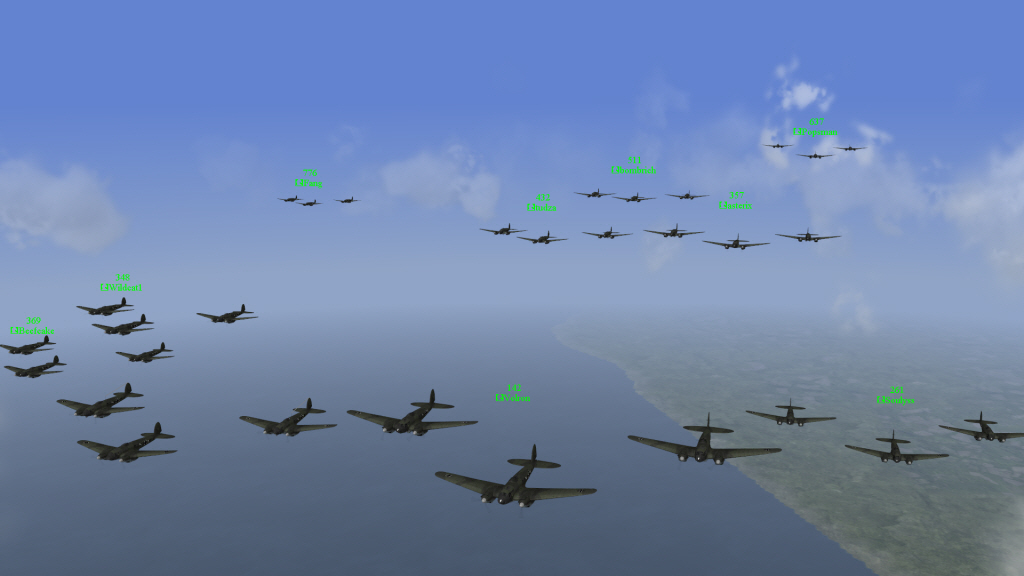
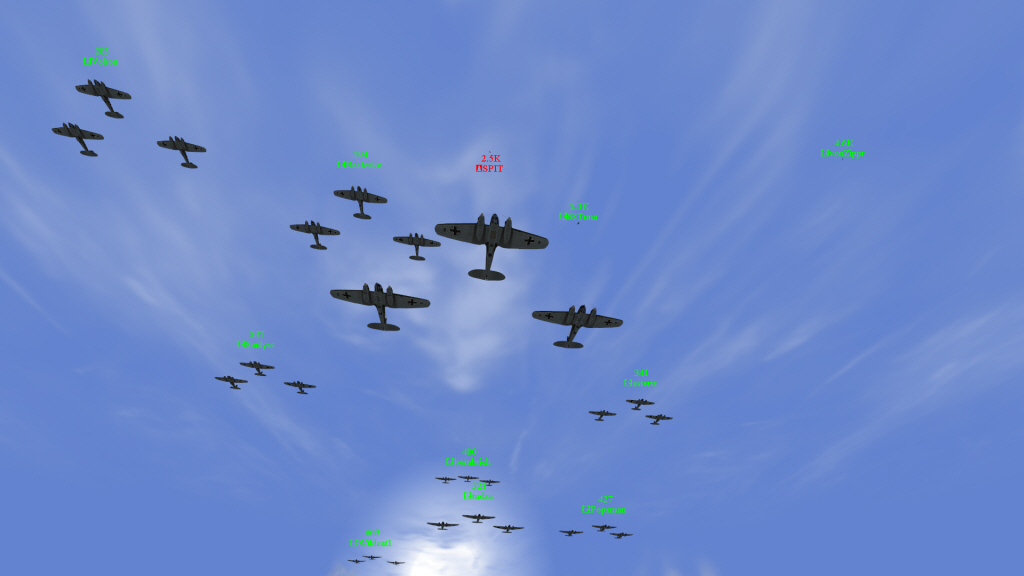
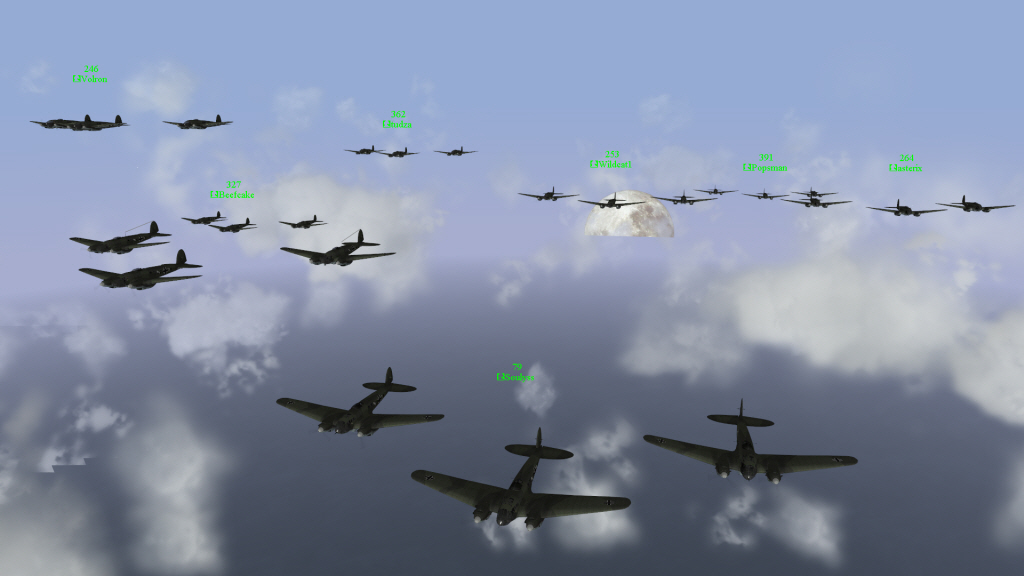
KG 53 formed up and on its way to its first targets of Gosport (a60) and Lee on
Solent (a58). We are just crossing off the coast of France. From
left to right: Beefcake, Wildcat1, me (Brooke), Fang, Volron, tudza,
bombrich, asterix, Popsman, and Soulyss. APDrone is up, too, but his plane
got a late take off. A fine group of men ready for adventure!
We had enough bombs for 20 fighter hangars. Rather than split up, to keep defensive fire and because our targets were all in a small area, my plan was to keep us together while going after airfields in succession. Thus, the plan was to hit the fighter hangars at Gosport (a58) and Lee on Solent (a60), then turn east to hit Westhampnett (a63) and Ford (a64) and the radar at Poling (v65) if it was still up, then turn back to clean up a58 and a60, then on to the radar at Worth (v53) -- if we lived long enough to do it all. APDrone was separated from us by a lot, so we had him go after special targets alone, flying down low. His priorities were the radar at v65, and FH's at a63, a64, a60, and a58 -- any that were still up as targets of opportunity.
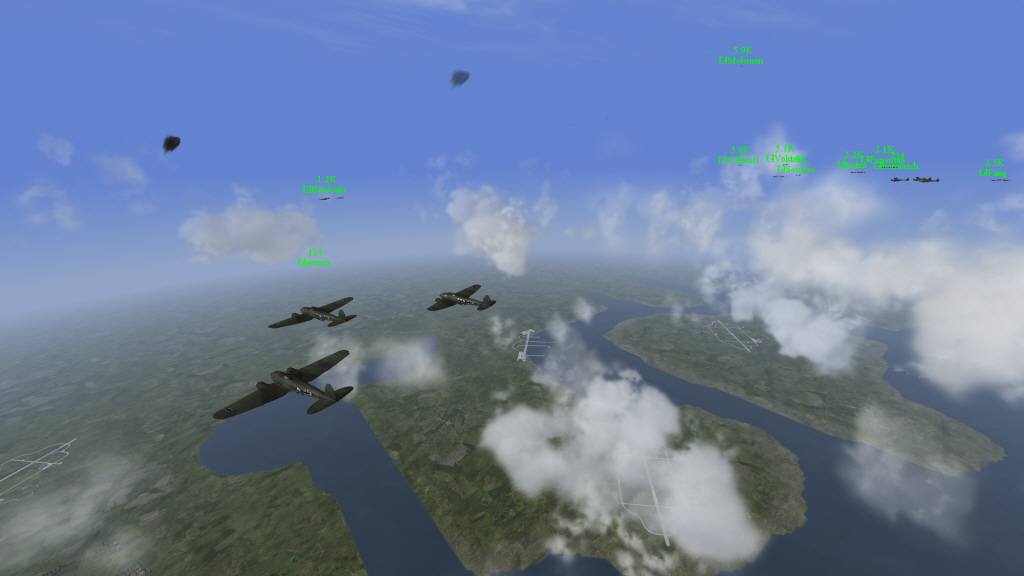
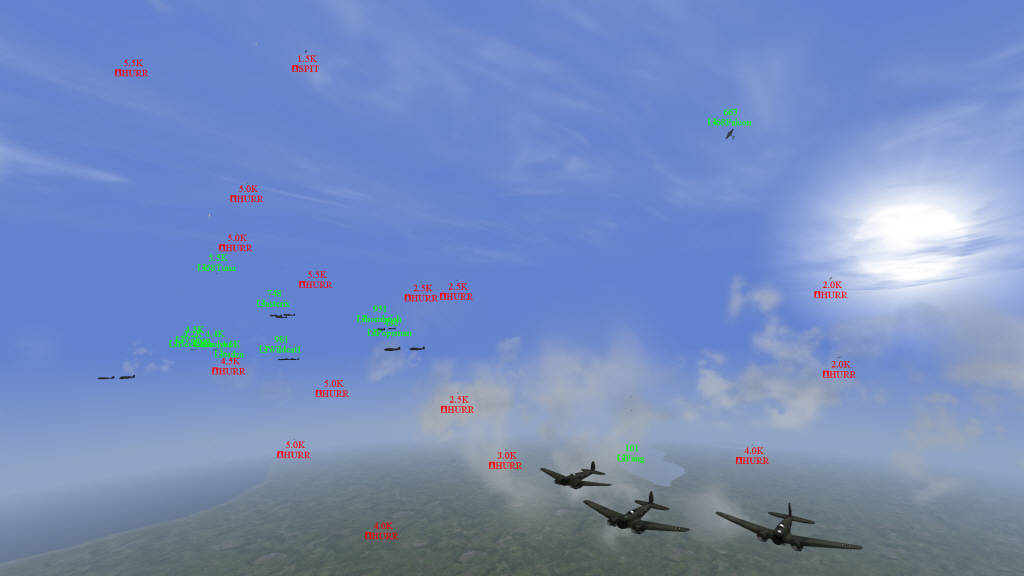
On our bomb run at a58 (bottom left of picture) and a60 (bottom right of
picture, under the cloud). One flight (Soulyss, Wildcat1, and Volron) is
hitting a60, and one flight (Beefcake, asterix, and bombrich) is hitting a58
(bottom left of picture). The way is clear so far. Four brave Bf
110C pilots of SKG 210 are with us, for which we are very grateful. t=1:04
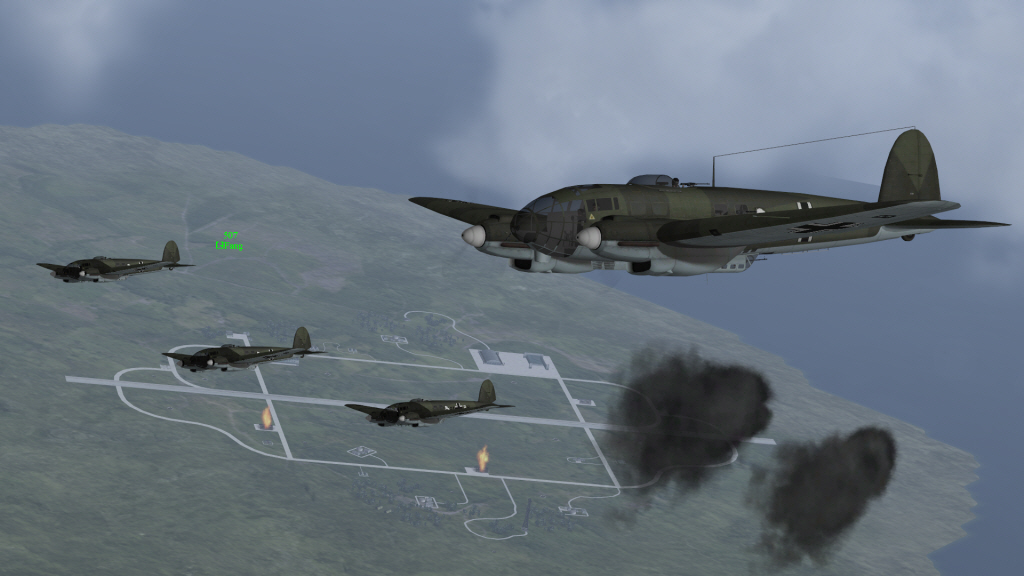
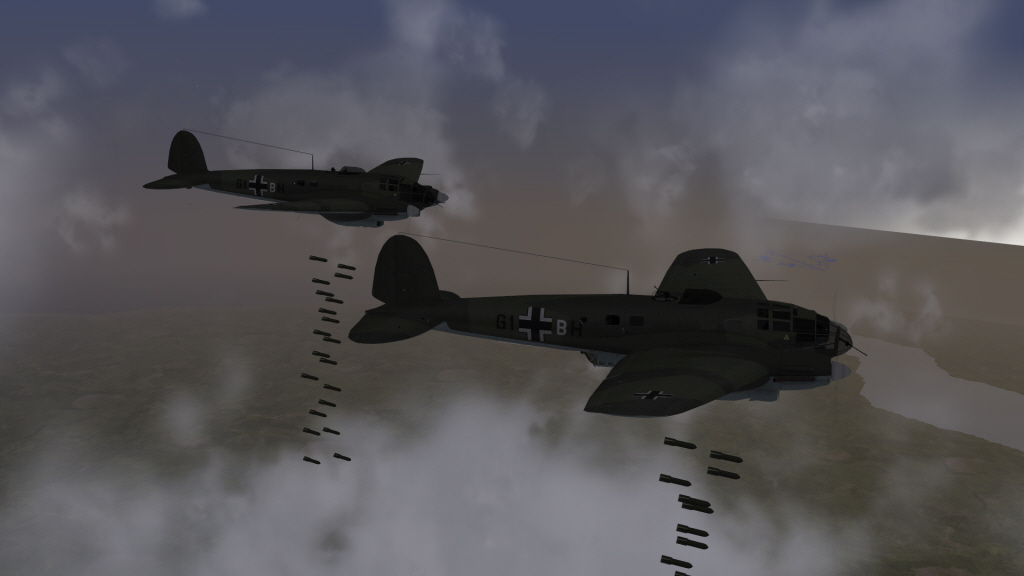
Appraising bomb damage at a60 while flak bursts near Fang. My bomber is in
the foreground. Two FH's down, one up. Cloud over the target
completely obscured Soulyss's view of the FH, so he was unable to drop.
Sorry, Soulyss -- there is nothing you could do about that. a58 was clear
and all FH's at a58 were destroyed. t=1:07
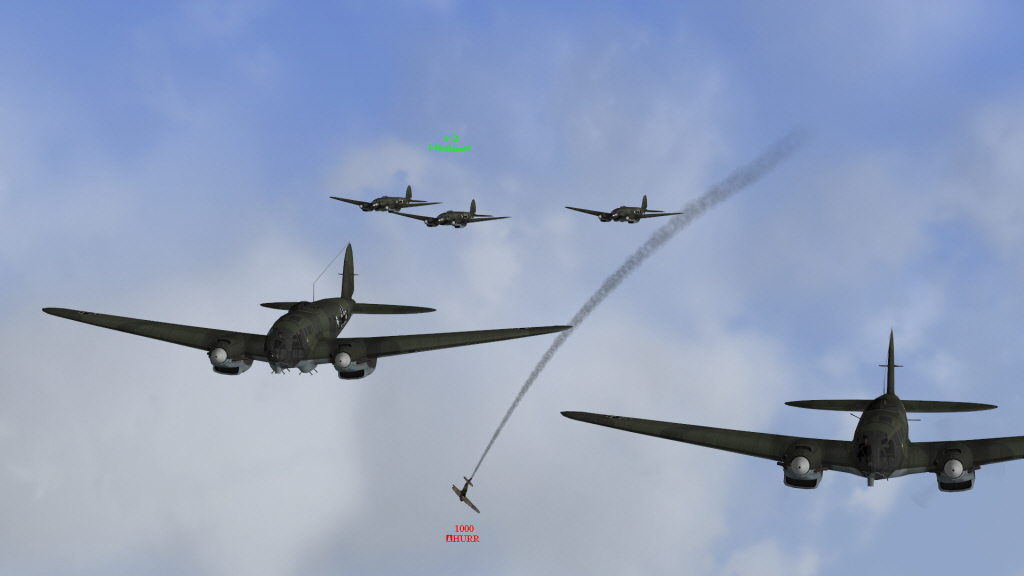
KG 53 on its way to a63 and a64 with the brave pilots of SKG 210 above us.
Here, a lone Spitfire is checking us out, undoubtedly radioing our positions to
groups of RAF fighters. It turned out to be Bruv119 -- the Commanding
Officer of the RAF. t=1:10
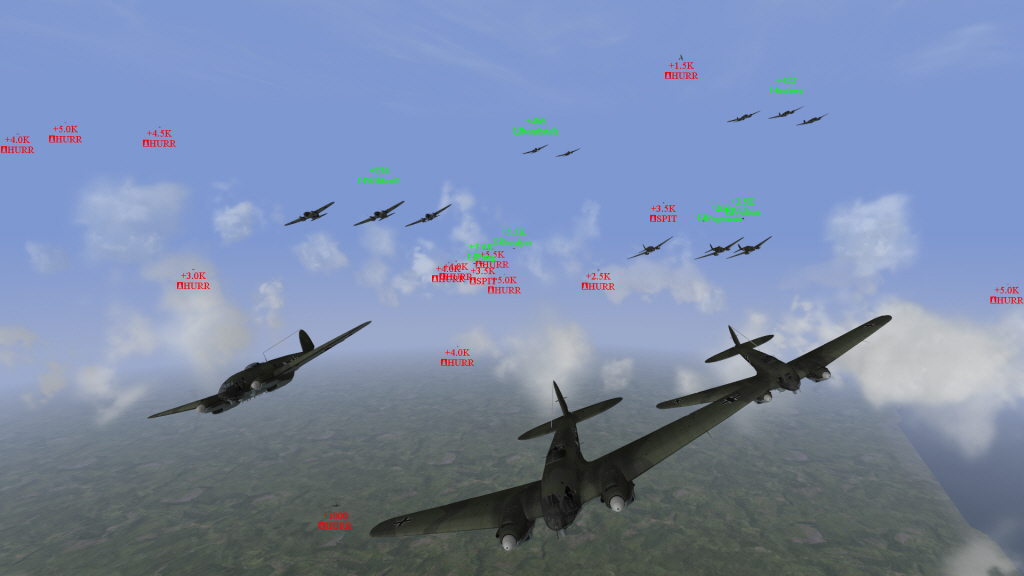
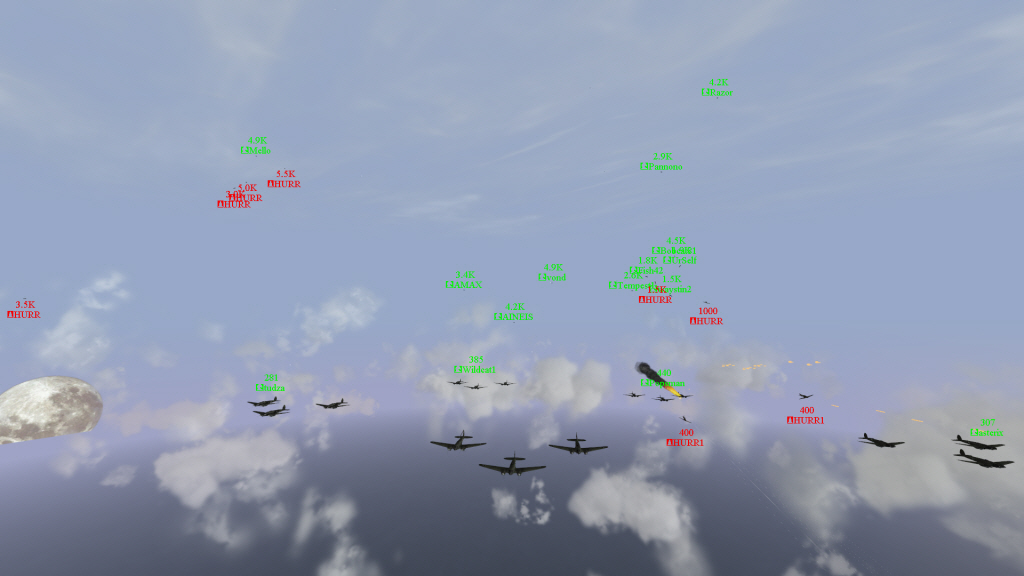
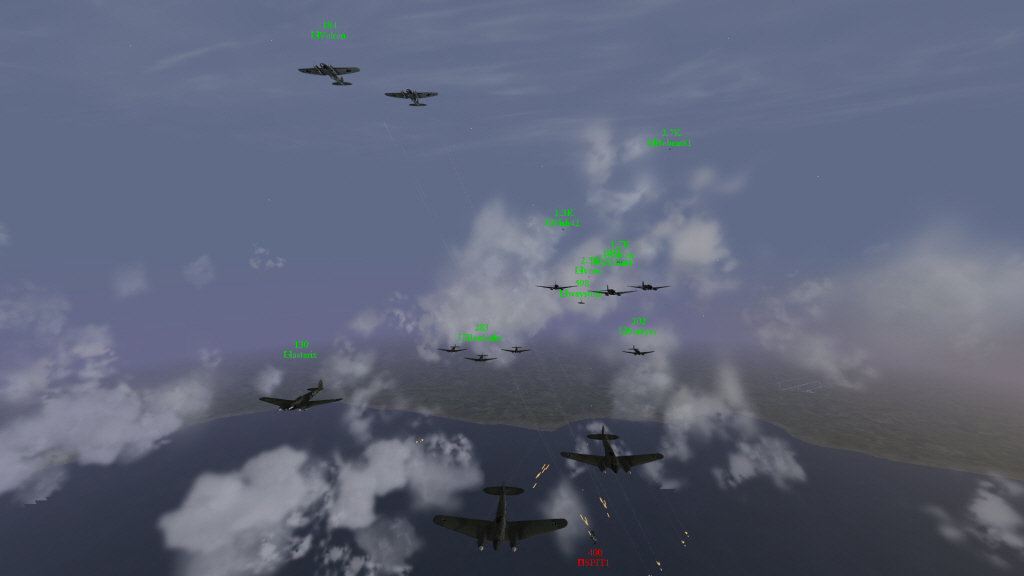
Soon, hordes of Hurricanes show up. The Bf 110 pilots are vastly
outnumbered and do a fantastic job protecting us under the circumstances.
You can see 68Tuna and 68Falcon mixing it up to help us. <S>, SKG 210!
A view right/back of my bombers as we fight our way to a62/a63. t=1:13
My gunner's view to the back/left side of my bombers. t=1:14
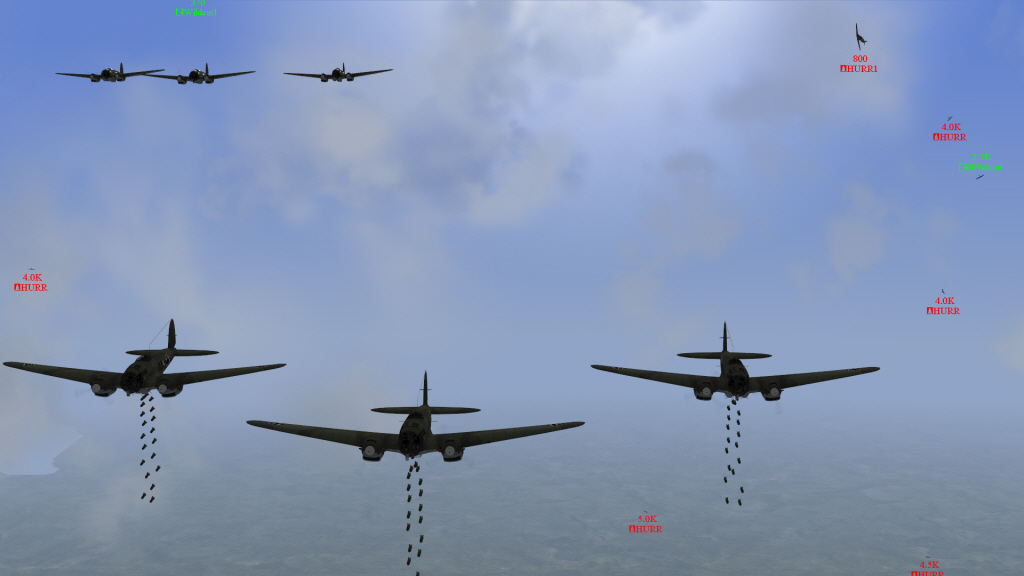
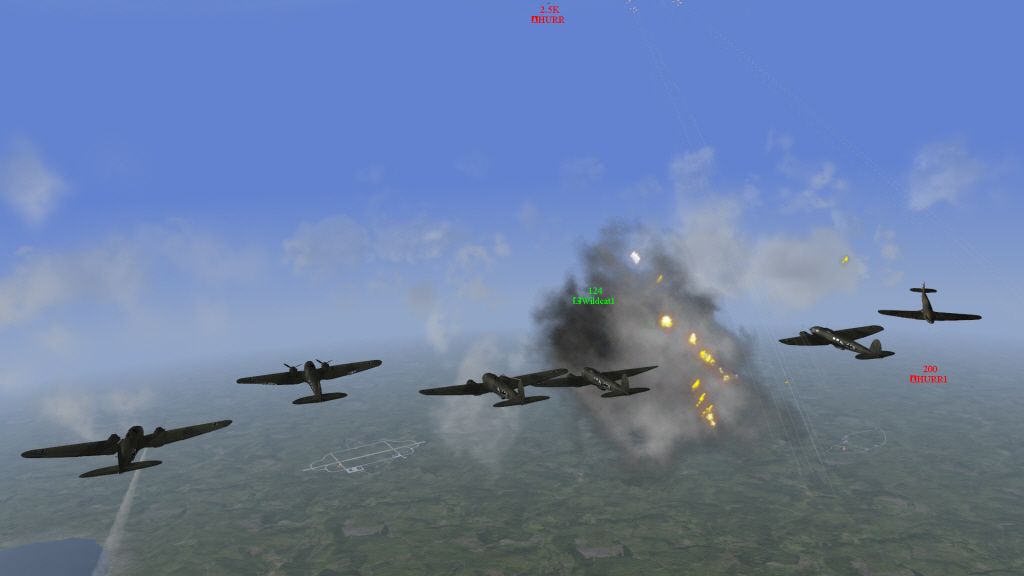
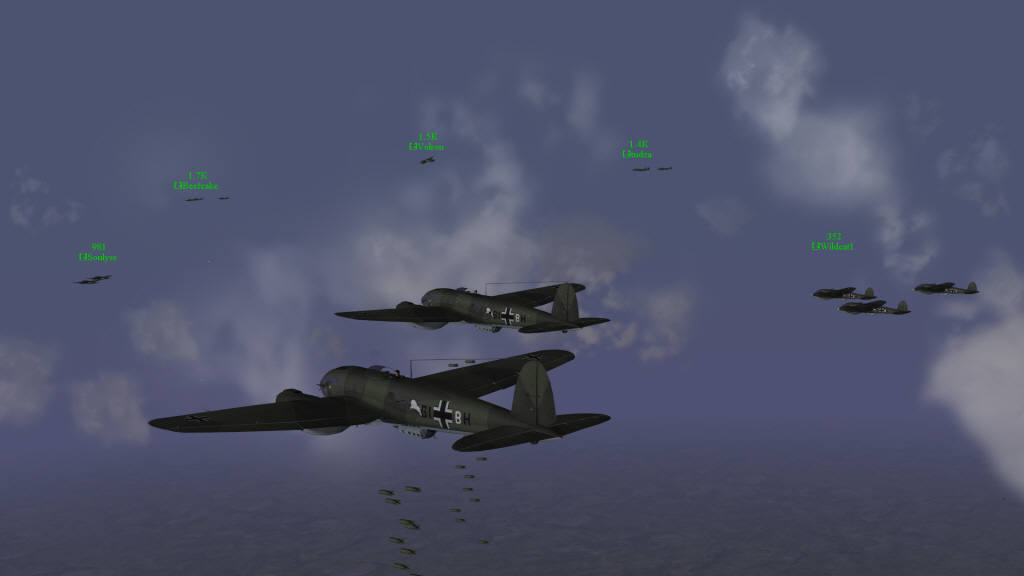
Bombs away on a63. 68Falcon is back there working to give us the time to
drop. I destroy an FH. Another portion of KG 53 is simultaneously
going for a64. t=1:14
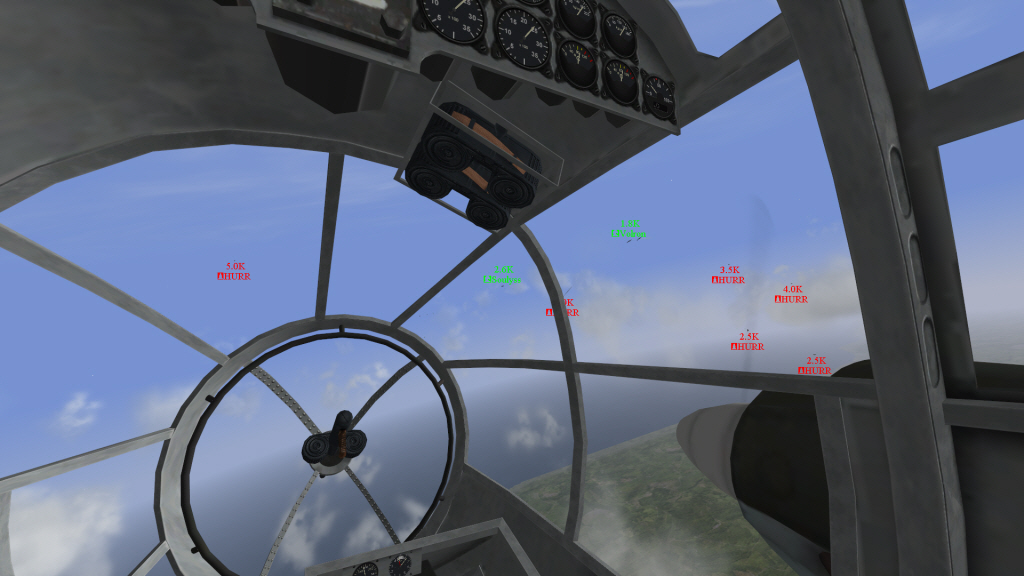
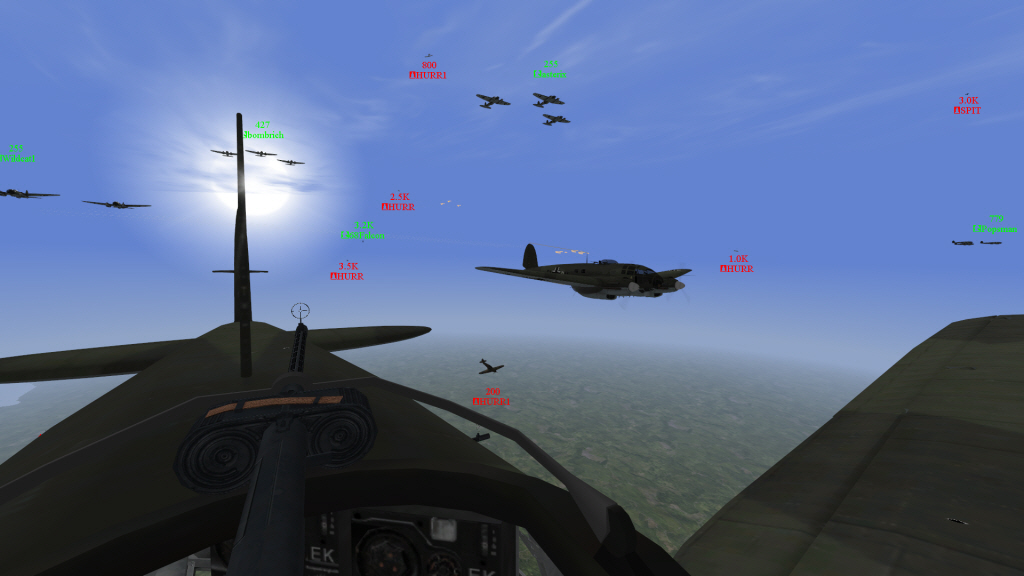
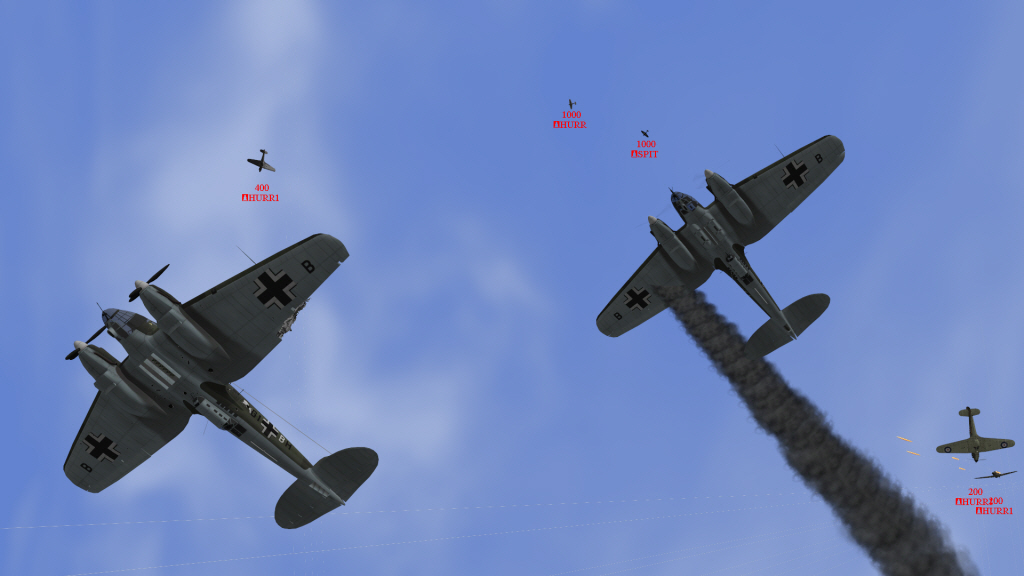
A view from my cockpit as we do a right turn from a63 to head back west.
Not many are left from the flight of KG 53 that went for a64. Soulyss
looks to be down to one bomber, Volron to two, and there are a bunch of
Hurricanes on them. t=1:17
A view behind me as we continue our turn back to the west. I'm calling on
the radio to see if there are any more fighter groups close enough to support,
but it is late, and the 109's had to return. They don't have enough fuel
to stay this long over England. t=1:17
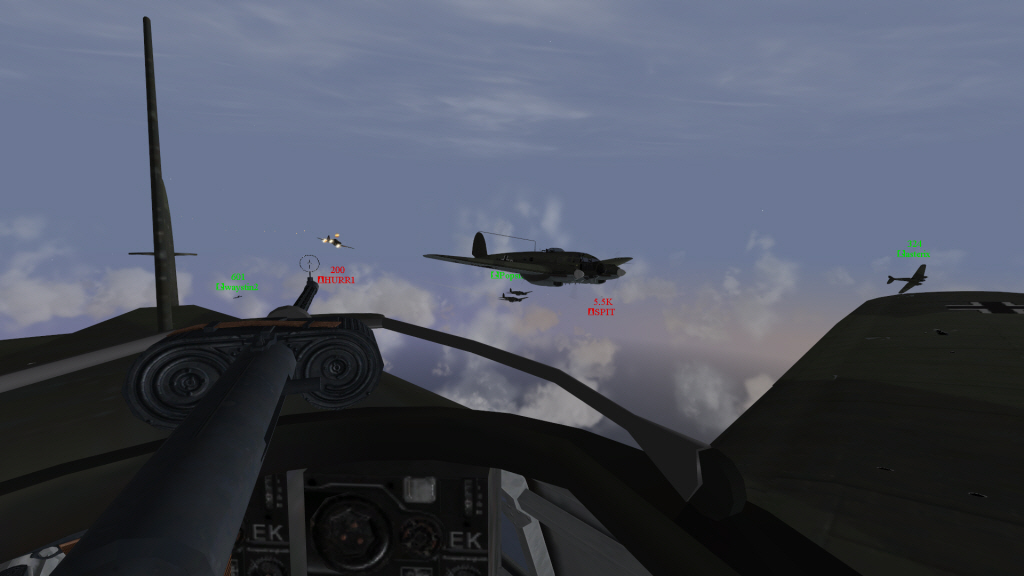
I
put a burst of gunfire into an attacking Hurricane I. We He 111's are
getting shot up and are suffering casualties, but we are fighting back and
making them pay a price, too. t=1:18
Three of us survived in decent shape out of the melee: Brooke, Wildcat1, and bombrich. APDrone reported that v65 radar was down before he got there, so he went and successfully destroyed the last FH at a60. Way to go, APDrone! So, a58 and a60 were knocked out. We surviving three headed out to the Channel, but I asked the guys if they would be willing to go back in to see if we could close a63 and a64. They were willing, and so we reversed course.
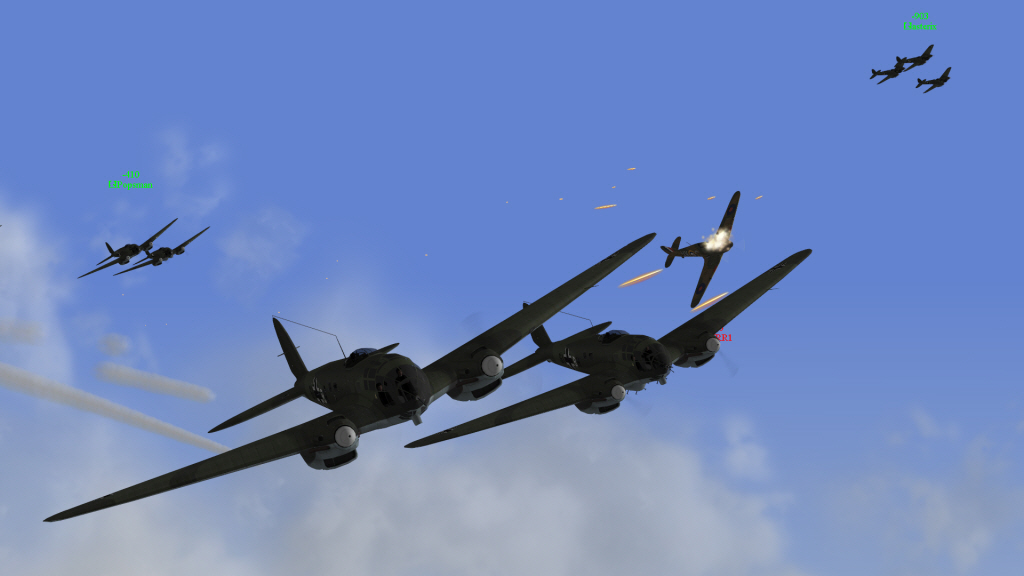
As we went back toward the coast of England, we picked up two Hurricanes, and
one of them got bombrich. t=1:29
Wildcat1 takes out one of the two Hurricanes. t=1:30
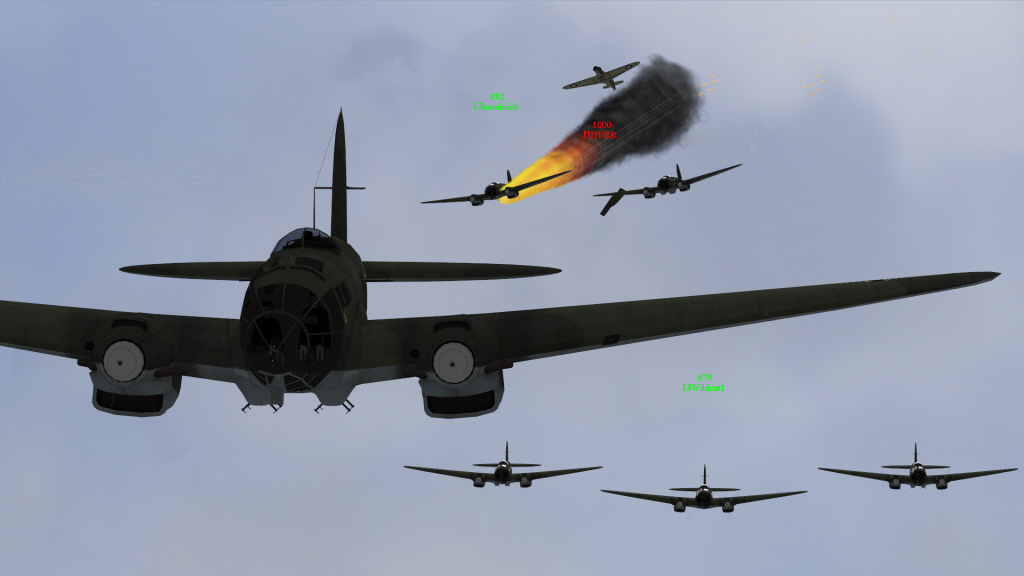
A Hurricane blows up Wildcat1's lead bomber in an attack from 12 o'clock high.
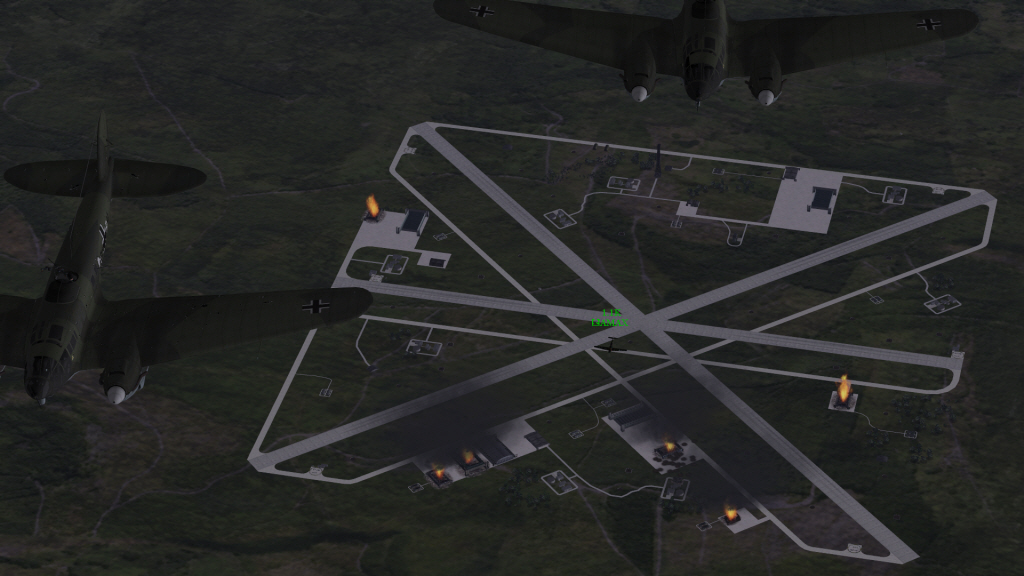
A bunch of Hurricanes and some Spitfires jumped us as we drew near a64 (the
field in the picture). My lead bomber has run out of fuel (due to shot up
fuel tanks), and it's engines have stopped. My left bomber is trailing
fuel. t=1:32
My final moments, with one bomber down, one without engine power and missing an
aileron, and one on fire. Hurricanes and Spitfires all around, doing pass
after pass. t=1:32
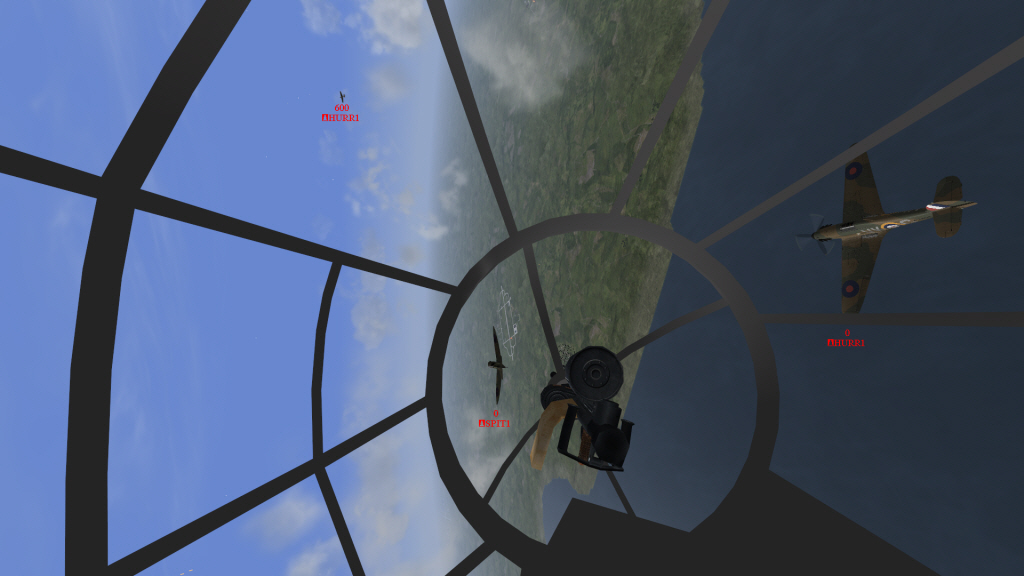
My last view out of my cockpit before I bail out, seeing the last three enemy
fighters to have done firing passes on me. The airfield ahead is so close,
but neither I nor Wildcat1 can make it. Many thanks to SKG 210 who fought
to the death to help us hit a63 and a64, which we did. <S>! t=1:33
KG 53 up for mission 2, on the way to hit Tangmere (a62). Tangmere is one
of the largest RAF airfields. From left to right: Volron, me
(Brooke), Beefcake, tudza, Soulyss, Wildcat1, Popsman, and asterix. t=2:28
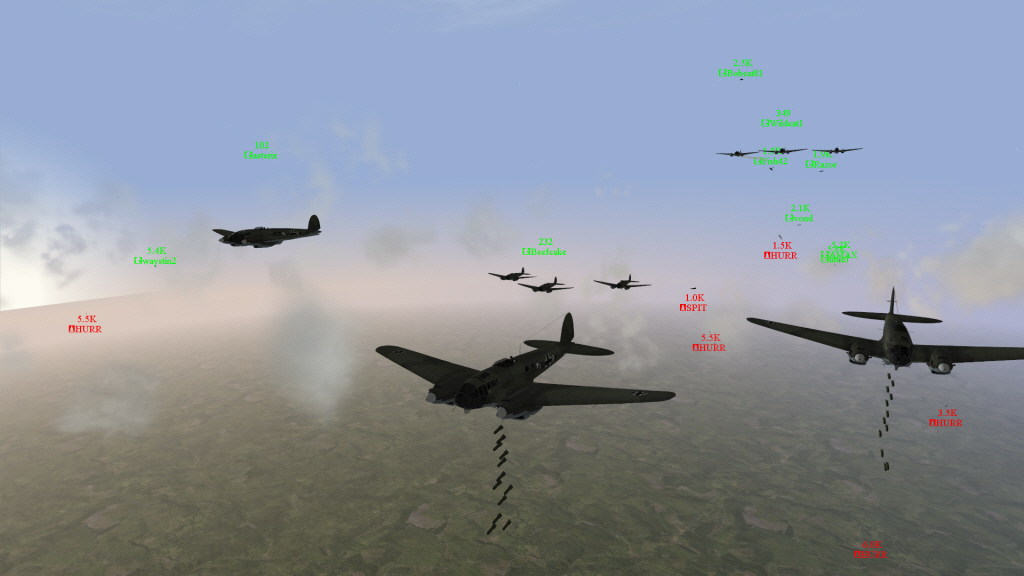
Hurricanes attack as we draw closer to the English coast. Some of them
dive through and take out several bombers: one of Popsman's, two of
Asterix's, and one of Soulyss's. However, we have a lot of escort led by
waystin2 (Group Leader of JG 53), and they are on the Hurricanes, which are
killed or dispersed shortly. t=2:32
I
put a burst into a Hurricane I making a run on asterix's lone bomber.
asterix is maneuvering, turning in toward me. Popsman is out there with
two bombers, and waystin2 is in hot pursuit of the Hurricane.
Bombs away on Tangmere. I destroy an FH. Some of our bombers are
down, but every pilot is still alive at this point. Thank you, JG 53!
t=2:43
Another view of my bombs away, just because I like the picture.
Looking back from my bombers for a bomb-damage assessment. Out of the
eight fighter hangars, it looks like three are still up, so I call for a 2nd
pass. t=2:36
Bombs away on pass #2 on Tangmere. JG 53 is still there keeping us clear.
KKEN of KG 54 hit one of the remaining ones, too. This drop shuts down
Tangmere. Way to go, folks! t=2:43
I fire at the last enemy to attack us as we exit the Tangmere area for home.
waystin2 is hot on his tail. We lost Popsman earlier, and sadly asterix's
remaining shot-up bomber succumbed to a pilot wound before home. Sorry,
you two, but we and you put up a great fight, and Tangmere, one of the main RAF
airfields, is out of service.
I destroyed three fighter hangars (one at a63 and two at a62) and got 3 assists on enemies. My apologies to Popsman and bombrich on whom I also landed some hits during the wild defensive melees.
Overall, KG 53 shut down Gosport and Lee on Solent; got seven FH's at Tangmere; helped to shut down Westhampnett and Ford; and got 12 kills and 22 assists. Well done, guys! <S>
Special thanks to the pilots of SKG 210 and JG 53 for working hard to get us to targets. <S>
-- Brooke, GL, KG 53